


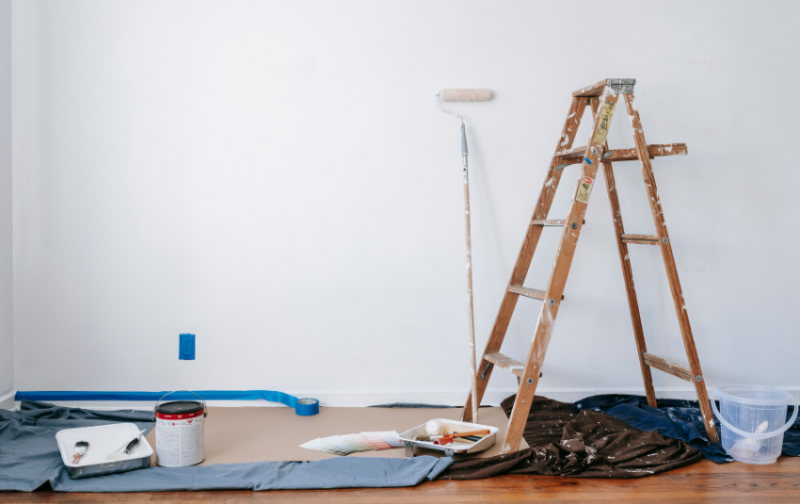
A fresh coat of paint can change the mood of a room, but a neat and durable result depends on more than your final colour. Proper wall preparation helps the paint adhere evenly, while suitable tools and sufficient drying time support a neater finish.
If you are wondering how to paint a room yourself, this guide takes you through the process from planning to cleanup. It also explains how to choose interior paint that suits the way each room is used, including lower-odour and washable options for Singapore homes.
Key Takeaways:
|
1. Gather Your Tools and Materials Before Starting
Before you start painting, gather everything you’ll need so you don’t have to stop midway through the job. Having the right tools also make it easier to achieve a smooth, even finish while keeping the surrounding area protected.
You will generally need:
- Your chosen cat dinding dalaman
- A suitable primer or sealer, if required
- A roller handle with a roller suited to the wall texture
- An extension pole for high areas
- A paint tray or bucket with a roller grid
- Painter’s tape and drop sheets
- A scraper, kertas pasir and filling knife
- Wall putty for small holes or cracks
- Clean cloths, a sponge and mild detergent
- A sturdy step ladder
- Protective clothing, gloves and eye protection
If you are sanding, wear suitable respiratory protection and keep other occupants away from the dust. Nippon Paint’s alat mengecat range includes rollers, brushes, painter’s tape and protective drop sheets for home projects.
2. Plan Your Project
Decide whether you are painting the walls only or including the ceiling and trim. Measure the paintable area, then use Nippon Paint’s paint calculator to estimate the quantity required.
Include surface preparation and tools in your budget, not just the paint. Allow time for preparation and the stated drying period between coats.
3. Choose the Paint Colour and Finish
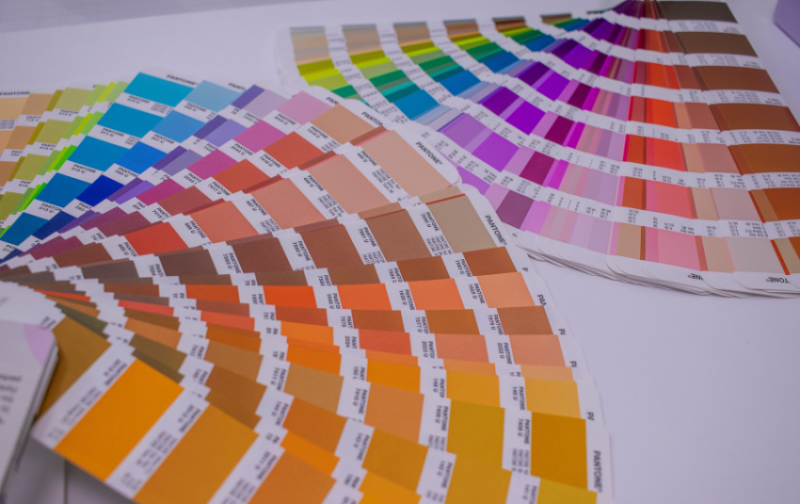
Test shortlisted colours on the wall or sample boards. View them in daylight and artificial light, as the same shade can look different throughout the day. Once you have chosen a colour, match the finish to how the room is used and how easily the walls need to be cleaned.
| Finish | Suitable rooms | Key consideration |
| Matt, such as Vinilex 5000 | Bedrooms and studies | Hides minor imperfections but is less washable |
| Low sheen, such as EasyWash & Clean | Living rooms, dining rooms and hallways | More durable and easier to clean than matt |
| Satin, such as Vinyl Silk | Children’s rooms, kitchens and other frequently used spaces | Washable and durable but may highlight uneven walls |
For a lower-emission option, look for low- or near-zero-VOC paint and check the product’s formaldehyde specifications. Odour-less Ultra Fresh Air is a near-zero-VOC option. Ventilate the room even when using low-VOC paint.
4. Prepare The Room
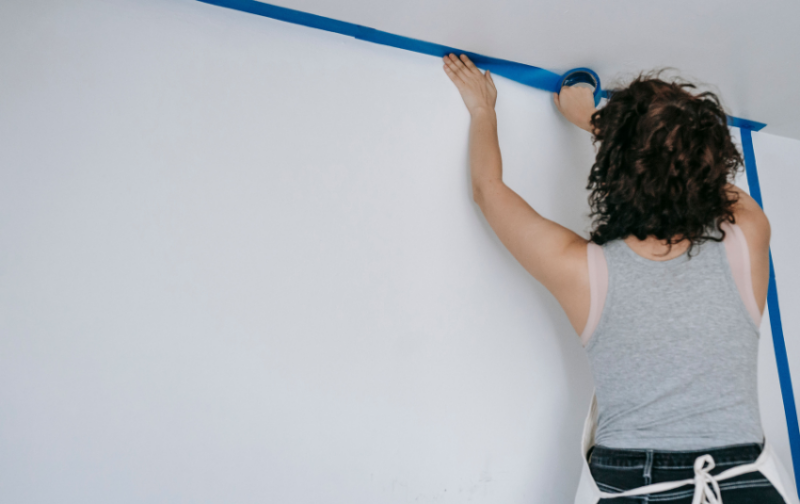
Work through the following tasks before opening the paint:
- Move and cover furniture: Remove smaller pieces or place larger furniture in the centre under protective sheets.
- Clear the walls: Take down curtains, rods and wall décor. Switch off the power before removing socket or switch faceplates.
- Prepare the surface: Clean the walls, fill holes and cracks, then sand repaired areas once dry.
- Tape the edges: Mask skirting boards and trim firmly. For sharper lines, seal the tape edge with a thin coat of the existing wall colour before applying the new colour.
- Ventilate the room: Open windows and maintain airflow throughout painting and drying.
For more information, you may refer to Nippon Paint’s home painting preparation checklist.
5. Prime the Walls
Use primer or sealer on bare drywall or plaster, and where required over repaired areas or major dark-to-light colour changes. Sand glossy walls to dull the sheen before following the recommended coating system. Odour-less Ultra 5102 Sealer is one option for interior masonry surfaces.
Apply sealer around edges and corners with a brush, then roll the larger areas in overlapping sections. Let it dry for the stated time before painting.
6. Roll The Walls
Load the roller evenly without saturating it. Work in small sections using a W- or M-shaped stroke, then fill the gaps with light passes.
Move to the next section before the previous edge dries. This maintains a wet edge and reduces lap marks. Avoid pressing hard or repeatedly rolling paint that has begun to set.
7. Apply the Second Coat
Wait for the overcoating time stated on the product label; humid conditions may require longer. Inspect the dry first coat for thin or missed areas, then apply the second coat evenly using the same technique.
8. Clean Up and Add Final Touches
Remove painter’s tape while the paint is still slightly tacky, pulling it back slowly at a 45-degree angle. Clean tools as directed, then seal and label any usable paint for future touch-ups.
Return furniture only after the coating has dried, and avoid pressing it against the walls until the paint has cured sufficiently. Never pour liquid paint into a sink or drain. Follow Nippon Paint’s paint storage and disposal guide.
Common Mistakes to Avoid
A few common painting mistakes can leave the walls patchy or shorten the life of the finish. Avoid the following:
- Skipping surface preparation: Paint adheres poorly to loose, damp or uneven surfaces, so the finish may peel or look patchy.
- Using the wrong roller: A roller nap that does not suit the surface or paint can leave an uneven texture and reduce coverage.
- Applying coats too thickly: Heavy layers dry less evenly and are more likely to sag or show roller marks.
- Painting over dirty walls: Dust and grease create a barrier between the new coating and the wall.
- Not allowing enough drying time: Recoating too soon can disturb the first coat and trap moisture beneath the finish.
- Buying too little paint: Running out mid-wall may create visible lap marks or introduce a slight batch-to-batch colour difference.
5 Tips for a Professional Finish
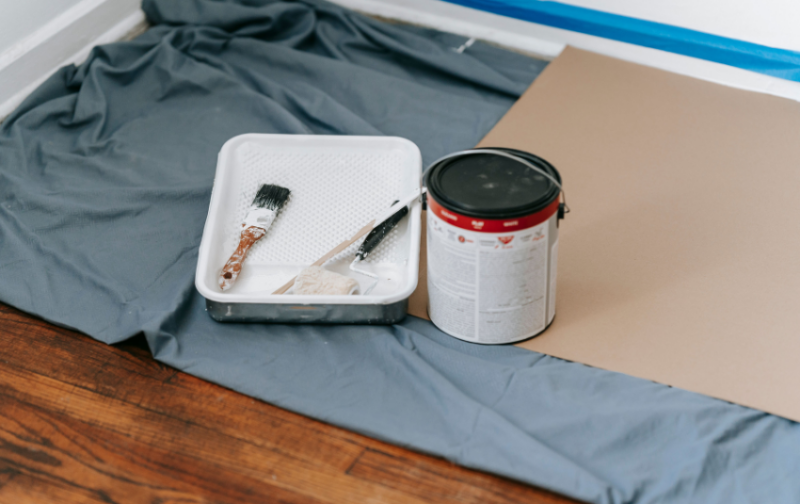
Want your freshly painted room to look clean and professionally done? These simple painting tips can help you get a better-looking finish.
1. Paint From Top to Bottom
Begin with the ceiling, followed by the walls and trim. This allows you to cover any drips as you work downwards.
2. Paint During Suitable Weather Conditions
Choose a dry, well-ventilated period. High humidity can slow drying and extend the time needed between coats.
3. Keep Consistent Lighting While Painting
Use adequate lighting while painting and inspecting each wall. Changing light conditions can make thin or missed areas harder to spot.
4. Stir Paint Regularly
Mix the paint thoroughly before starting and occasionally during use to maintain an even colour and consistency.
5. Use Quality Tools
A suitable brush and roller can improve coverage while reducing loose fibres, visible marks and splattering.
Why Choose Nippon Paint?
Nippon Paint’s interior range covers different room conditions and finish preferences, from classic matt paint to durable low-sheen options. Homeowners can choose products based on the wall’s needs rather than treating every room the same.
- Premium interior paint range: Options are available for general walls, high-traffic areas and moisture-prone ceilings.
- Low VOC options: Selected odour-less products are formulated for low or near-zero VOC emissions, depending on the product.
- Excellent coverage: Several interior products are designed to provide strong coverage when applied using the recommended system.
- Washable finishes: Ranges such as EasyWash & Clean and Odour-less Ultra Durable are intended to make household marks easier to clean.
- Anti-mould technology (where applicable): All wall and ceiling products are formulated to resist mould or fungus growth.
- Wide range of colours: Nippon Paint offers more than 2,300 colour options, supported by online colour tools and physical brochures.
If you would rather leave the work to professionals, enquire about Nippon Paint’s Perkhidmatan Cat Profesional and request a quotation.
FAQs About How To Paint A Room
How many coats of paint do I need?
Most room walls need two coats of finishing paint for even colour and coverage. A sealer may be required first when the surface is bare, repaired or changing from a much darker colour. Always follow the coating system stated for the chosen product.
How long does it take to paint a room?
A small room with walls in good condition can often be prepared and painted within one to two days. Larger rooms or those requiring extensive repairs will take longer, while Singapore’s humidity may extend drying time.
Do I need to use a sealer before painting?
Not always. If your walls are already painted and in good condition, you may be able to paint directly over them. However, sealer is recommended for new or bare surfaces, repaired or stained walls, porous surfaces, or when making a significant colour change. It helps the paint adhere better, creates a more even base and can improve the overall finish.
How much does it cost to paint a room?
The cost depends on whether you paint the room yourself or engage a professional. For DIY painting, budget for the paint, primer or sealer, repair materials and any tools you do not already own.
For professional painting, Nippon Paint’s Professional Painting Service starts from $450 for single-room painting and $900 for living-room painting. Its promotional rates for whole-flat painting are:
| HDB flat type | Whole-flat promotional price |
| 3-room HDB | $1,350 – $1,850 |
| 4-room HDB | $1,650 – $2,200 |
| 5-room HDB | $1,850 – $2,400 |
The final quotation depends on the package and additional work required. View the current professional painting packages and submit an enquiry for a quotation.
Should I paint the ceiling or walls first?
Paint the ceiling first, followed by the walls. Any drips from the ceiling can then be covered when you apply the wall paint. Complete the trim after the walls unless the chosen coating system calls for a different sequence.
Can I sleep in a freshly painted room?
It is better not to sleep in the room until the paint has dried for the period stated on the label and the space has been thoroughly ventilated. Continue airing the room if odour remains, and follow any product-specific precautions for children or people with respiratory sensitivities.
How long should I wait before moving furniture back?
Wait until the final coat has dried for at least the period stated on the product label. Because drying time and full curing time are different, avoid pressing furniture directly against a newly painted wall until the coating has cured sufficiently. Humid conditions may require a longer wait.
Best Types of Paint for Kids’ Rooms: Colour & Finish