


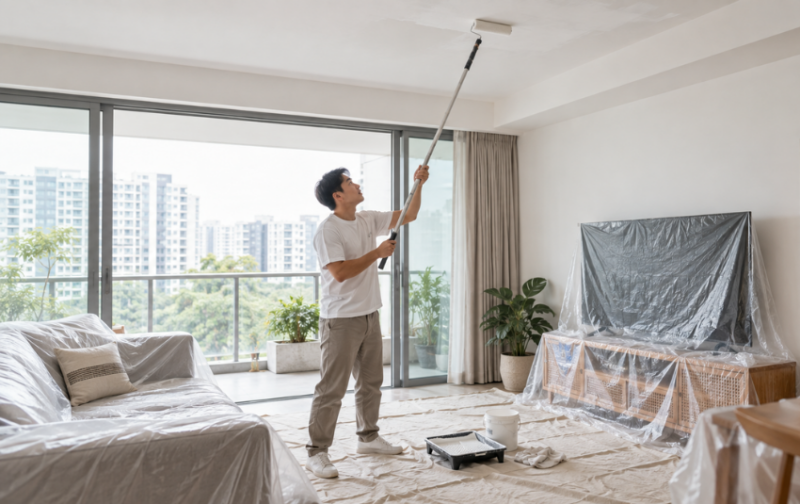
A fresh coat of paint can brighten a dull ceiling and make the whole room feel cleaner. However, painting overhead also makes drips, splatter and visible roller marks more likely if the surface or tools are not prepared properly. This guide explains how to paint a ceiling from start to finish and choose a suitable product for each room.
Key Takeaways:
|
Tools You’ll Need To Paint A Ceiling

Gather these 工具 before you begin to keep the work organised and minimise interruptions:
- Ceiling paint and a suitable primer or sealer, if required
- Roller handle, roller 和 extension pole
- Angled paintbrush for edges and fixtures
- Paint tray and paint stirrer
- Painter’s tape 和 drop sheets
- Dust cloth, sponge, bucket and mild detergent
- Scraper, filler and fine-grit 砂纸 for repairs
- Stable stepladder
- Safety glasses, gloves and a cap
You can browse Nippon Paint’s range of 工具 for suitable brushes, rollers, extension poles, tape and dropsheets.
How To Paint Ceiling: Step By Step Guide
Follow these six steps to prepare the surface and achieve a smooth, even ceiling finish.
Step 1: Prepare The Area
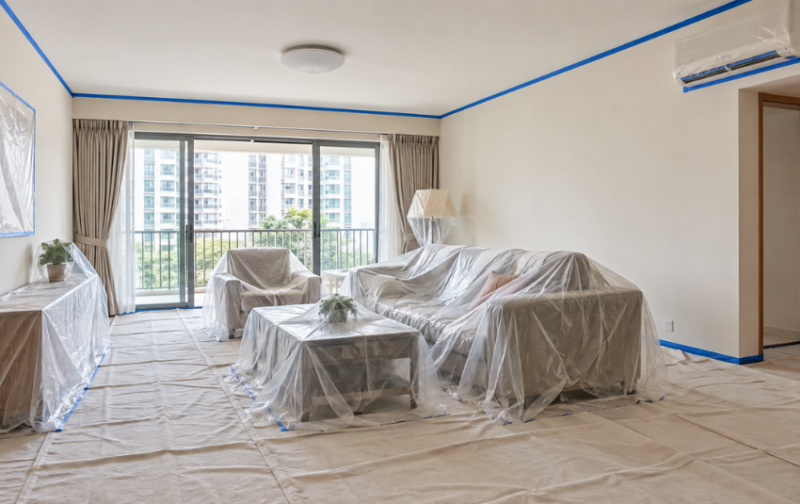
Remove small furniture, cover larger pieces and protect the floor with drop sheets. Switch off the power before removing fixtures, and engage an electrician if wiring is involved. Tape off the edges of the walls and any areas you want to protect. Refer to Nippon Paint’s painting preparation guide for more details.
Step 2: Clean Your Ceiling
Check for stains, mould, cracks and peeling paint, and signs of leaks. Address any leaks first, then scrape away loose paint, fill cracks and sand repaired areas smooth. Remove dust and clean any greasy areas with mild detergent before allowing the ceiling to dry completely. If mould or fungus is present, treat it with Nippon Paint Anti-Fungus Solution according to the product instructions.
Step 3: Prime Your Ceiling
Apply a suitable sealer to bare plaster, porous surfaces, repaired patches, stains or ceilings undergoing a major colour change. A full primer coat may not be necessary if the existing paint is clean, sound and compatible, so follow the directions for your chosen paint system.
Step 4: Cut In Around The Edges
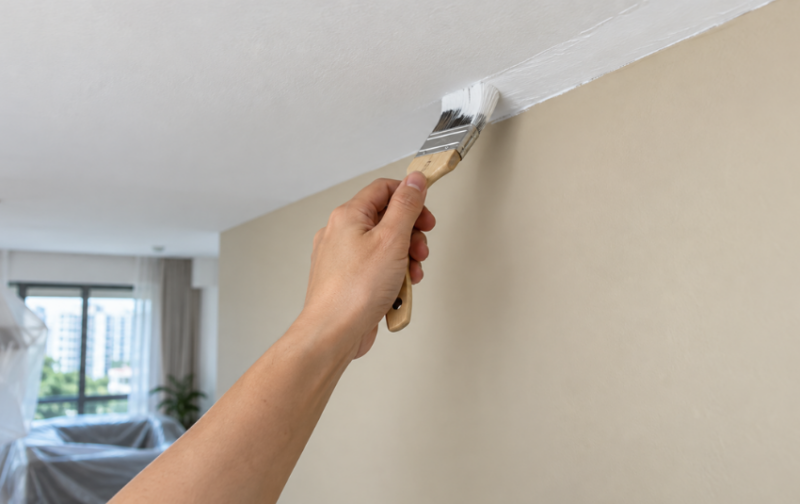
Use an angled brush to paint a strip about 5 to 8 cm wide around the ceiling perimeter and fixed fittings. Work section by section so the brushed edge remains wet when you roll the adjoining area. If the walls will be painted next, any slight overlap can be covered later.
Step 5: Paint With A Roller and Extension Pole
Stir the paint, load the roller evenly and start near the main window. Roll manageable sections in an overlapping W pattern, then level them with light, parallel passes. Avoid pressing hard or reworking drying paint, and keep the final passes in the same direction.
Step 6: Remove Tape and Reattach Ceiling Fixtures
Remove the tape before the final coat hardens, pulling it back at an angle. Let the ceiling dry before reinstalling fixtures and restoring power. Clean tools promptly with water after using water-based paint.
What Type of Paint Is Best for Ceilings?
A dedicated ceiling paint is generally the easiest option for overhead application. Nippon Paint’s ceiling paints are formulated with greater viscosity and thickness than ordinary wall paint to reduce drips and roller splatter. Their matt finish also helps the surface look even under overhead lighting.
Ceiling Paint vs Regular Wall Paint
The table below summarises the key differences between ceiling paint and regular wall paint.
| 特性 | Ceiling Paint | Regular Wall Paint |
| Formulation | Thicker and designed to minimise drips and splatter during overhead application. | Formulated for wall performance, with options that prioritise washability, colour or sheen. |
| 饰面效果 | Usually matt to limit glare and keep the surface looking even. | Available in matt, low-sheen, silk and other finishes. |
| Application | More controlled when rolling above your head. | May drip or splatter more, depending on the product. |
| Best use | Most standard ceiling repaints and white ceiling finishes. | Coloured or design-led ceilings only when the product is approved for that surface. |
Choosing Paint for Different Rooms
Choose a ceiling paint based on the room’s conditions and the finish you want. Consider the following options:
- Living and dining areas: A matt paint such as Matex provides a smooth finish with good coverage.
- Kitchens, bathrooms and damp areas: Odour-less Anti-Mould Ceiling White is formulated for areas exposed to moisture, including spaces around air-conditioners.
- Bedrooms: A low-odour ceiling paint is a practical choice; keep the room ventilated during painting and drying.
- Feature ceilings: For a coloured ceiling, choose an interior coating suitable for overhead application and follow its recommended paint system.
Common Mistakes to Avoid When Painting a Ceiling
Ceiling paint can highlight uneven preparation once it dries. Avoid these common errors to achieve a cleaner and more durable finish:
- Painting over dust, grease or loose paint: These contaminants prevent the new coating from bonding evenly.
- Ignoring leaks or recurring mould: Paint may stain, blister or peel again until the moisture source is resolved.
- Using an unsuitable paint: A thin wall paint may create more splatter and a less even overhead finish.
- Skipping sealer where it is needed: Bare, repaired or porous areas may absorb the topcoat unevenly and remain visible.
- Overloading or pressing the roller: Too much pressure can cause drips, splatter and heavy roller lines.
- Losing the wet edge: Letting one section dry before it is blended with the next can leave lap marks.
- Recoating too soon: A fresh coat can disturb the layer below if the stated overcoating time has not passed.
- Overreaching on a ladder: Move the ladder or use an extension pole rather than stretching beyond a stable position.
Ceiling Paint Design Ideas to Try
A ceiling can blend quietly into the room or become a feature of its own. Choose a treatment that works with the room’s size, lighting and existing colour palette.
Classic White Ceiling
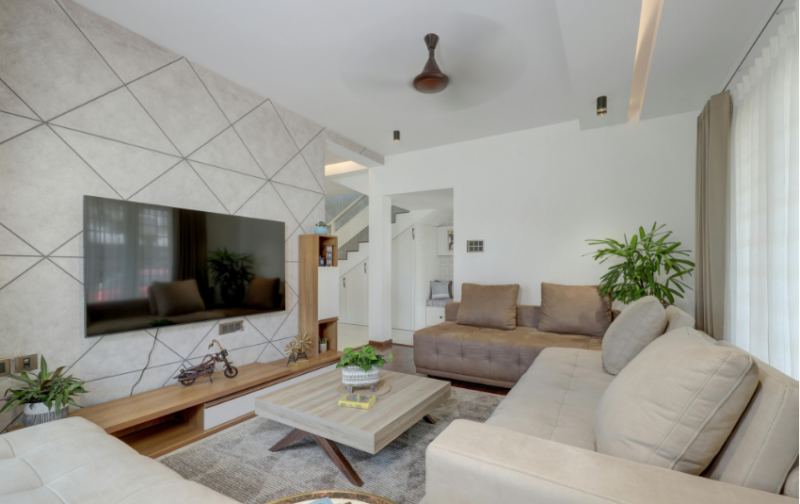
White remains a practical choice because it pairs easily with changing wall colours and keeps the ceiling visually light. A warm white softens beige or timber interiors, while a cleaner white suits cool greys and blues. Choose a matt finish to limit glare from overhead lights.
Ceiling and Walls in the Same Colour
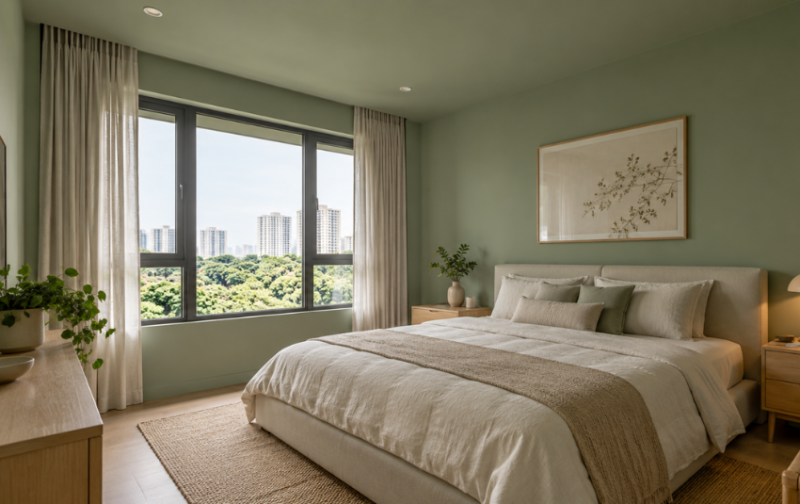
Using one colour across the walls and ceiling creates a continuous, enveloping look with fewer visual breaks. Pale or muted shades keep the effect understated, while deeper colours can make a bedroom or reading area feel more intimate. Check that the selected coating is suitable for both surfaces before painting.
Contrasting Ceiling Colour

A contrasting shade draws attention upwards and can connect the ceiling to furniture, artwork or soft furnishings below. Use a soft contrast for a subtle change or a darker tone for a stronger focal point. Explore Nippon Paint’s 寻找您的颜色 range and view samples under the room’s daytime and evening lighting before deciding.
Murals and Artistic Ceilings
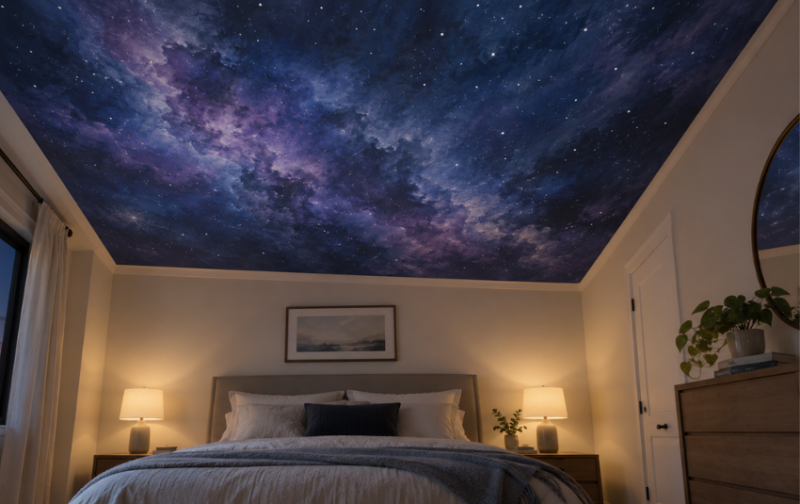
Murals, geometric patterns and painted skies can turn the ceiling into a feature, especially in children’s rooms or creative spaces. For a galaxy ceiling, start with a fully dried dark base and layer blue, violet and white details to suggest nebulas and stars. Plan the design on paper and practise sponging or splatter techniques on a separate surface before working overhead.
Give Your Ceiling a Fresh New Look
A smooth ceiling finish depends on careful preparation, the right paint and consistent roller technique. If the ceiling is high, damaged or affected by recurring mould, professional assessment may save time and reduce the risk of an uneven result.
Nippon Paint’s 专业油漆服务 covers inspection, surface preparation, protection of furniture and floors, painting and reinstatement. Submit an enquiry to discuss your ceiling and arrange a non-obligatory consultation.
FAQs About How To Paint Ceiling
Should I paint the ceiling or walls first?
Paint the ceiling first so drips can be covered when the walls are painted. Nippon Paint’s recommended sequence of painting moves from the ceiling to the cornices, walls, woodwork and skirting.
How do I get a perfect line between the wall and ceiling?
When both surfaces are being repainted, let the ceiling colour overlap slightly onto the wall, then cut in the wall colour after it dries. If the walls will remain unchanged, apply painter’s tape along the edge, press it down firmly and remove it before the new paint fully hardens.
How do I paint a ceiling without leaving roller marks?
Use a suitable roller sleeve, load it evenly and maintain a wet edge between sections. Overlap each pass, finish with light strokes in one direction and avoid pressing hard or reworking paint that has started to dry. If needed, apply a full second coat after the first coat has dried for the stated time.
Which direction should you paint a ceiling?
Start in the corner nearest the main window and work across the room. Make the final roller pass parallel and in the same direction, ideally following the main source of natural light so the texture is less noticeable. Consistent pressure and a wet edge matter more than changing direction repeatedly.
Can I paint directly over old ceiling paint?
Yes, if the old coating is clean, dry, stable and compatible with the new paint. Scrape peeling sections, sand glossy or uneven areas, repair cracks and remove all dust. Prime bare patches, stains or porous repairs before applying the topcoat.
Why does my ceiling look patchy after painting?
Patchiness may come from uneven surface absorption, missed areas, too little paint or reworking paint that had begun to set. Let the ceiling dry fully, then seal porous areas if necessary and apply another full, even coat rather than touching up isolated spots.
How to paint a popcorn ceiling?
Remove loose dust gently, then use a thick-nap roller that can reach into the texture. Apply light pressure and avoid repeated passes, as moisture and friction may loosen the finish. If the texture is old, damaged or of unknown composition, do not sand or scrape it; ask a qualified painting professional to assess the ceiling first.
Best Types of Paint for Kids’ Rooms: Colour & Finish