


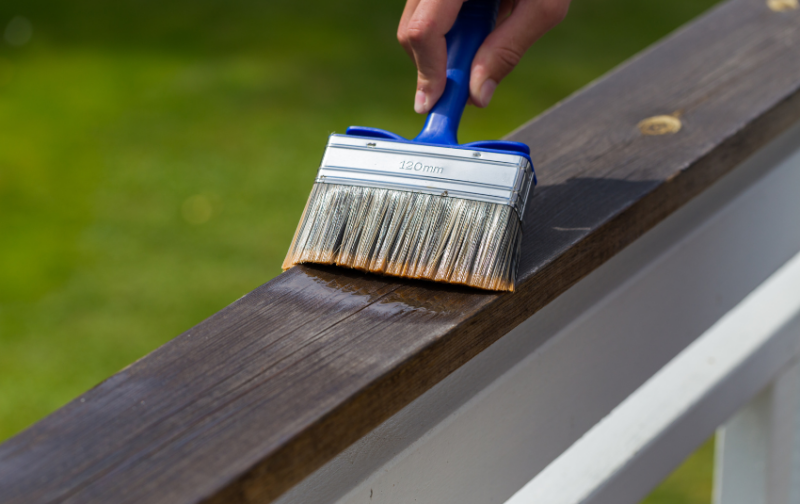
Outdoor wooden surfaces can add plenty of warmth and character to a home, but keeping them looking their best in Singapore isn’t always easy. Year-round UV exposure, frequent heavy rain, humidity, foot traffic and the occasional BBQ gathering can take a toll over time. What was once a beautiful, welcoming space can gradually turn dull, grey and peeling.
That’s where a fresh coat of paint can make a real difference. It can breathe new life into tired-looking wood while adding a layer of protection against everyday wear and the elements.
But a lasting finish takes more than picking a colour and reaching for the paintbrush. Proper cleaning, sanding and priming can make all the difference to how your finished surface looks and how long it lasts. In this guide, we’ll walk you through how to paint wood step by step, from preparing the surface and choosing the right paint to achieving a smooth, lasting finish.
Key Takeaways:
|
Tools and Supplies You Will Need To Paint Wood
Here are some of the tools and supplies you’ll need to prepare, paint and finish your wood properly:
- Wood soap
- Paint scraper
- Low-grit and medium-grit kertas pasir
- Clean cloths or rags
- Medium-sized paint brush or roller
- Nippon Paint SolarShield (for decking exposed primarily to UV rays)
- Nippon Paint TimberCoat (for outdoor wooden furniture)
- Oil-based wood sealer
- Painter’s tape
- Paint tray and liners
- Protective gloves and eyewear
- Drop sheets
How To Paint Wood: Step By Step Guide
Painting wood is relatively straightforward, but the right preparation and technique can make a big difference to the final result.
Step 1: Cleaning & Preparing the Surface
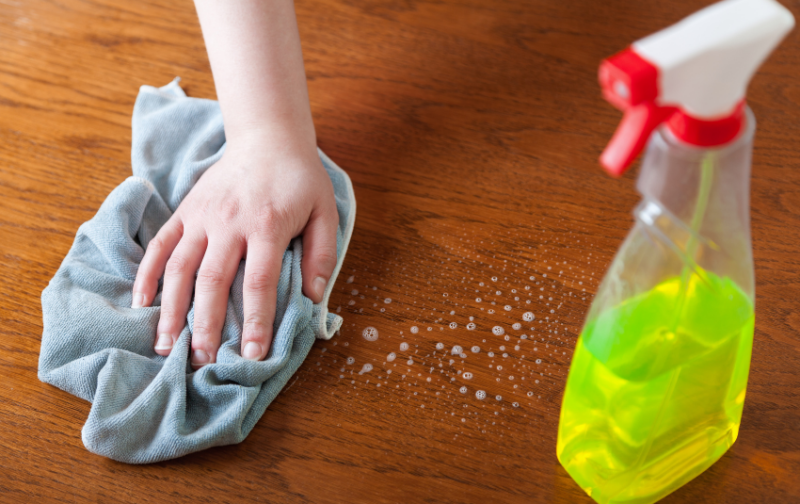
Before you start painting, give the wood a thorough clean. Dirt, grease, wax and polish can prevent paint from adhering properly, particularly on older furniture or frequently used wooden surfaces.
Use a suitable wood cleaner or sugar soap solution to remove any dirt and grime, then allow the surface to dry completely. If the wood has previously been painted or varnished, use a paint scraper to remove any loose, flaking or peeling finish.
Once clean, inspect the wood for holes, dents or cracks. Fill these with a suitable wood filler and allow it to dry before moving on to sanding.
Tip: When scraping old finishes, work in the direction of the wood grain where possible to reduce the risk of gouging or damaging the surface.
Step 2: Sand the Surface Smooth
Source: Shutterstock
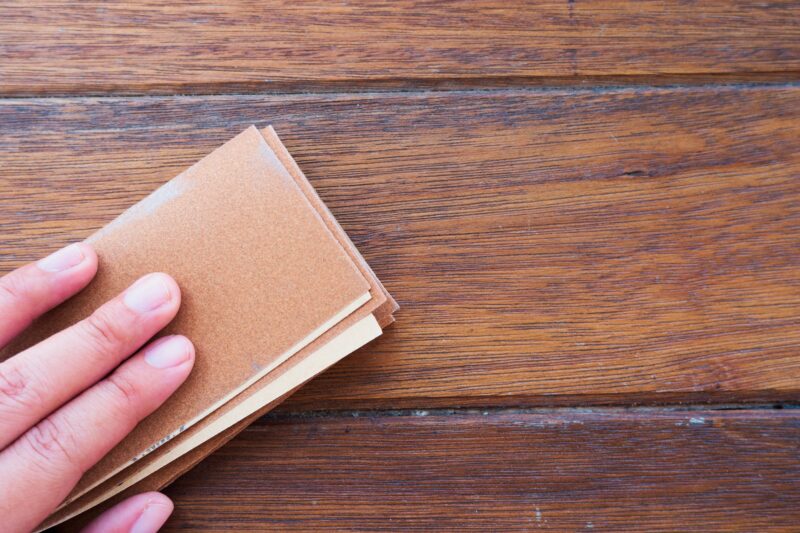
Next, sand the wood to create a smooth, even surface that your primer and paint can adhere to.
For rough or previously painted surfaces, start with a coarser grit sandpaper to tackle uneven areas and stubborn paint residue. Follow up with a medium or finer grit, using long, consistent strokes in the direction of the grain to achieve a smooth, uniform finish across the whole area.
Once you’re finished, remove all sanding dust with a clean cloth and allow the surface to dry completely before moving to the next step. Staining over dusty or damp wood will compromise adhesion.
Why this step matters: Even a beautiful stain will look uneven and amateur on a poorly sanded surface. Thorough sanding is the single biggest differentiator between a DIY result that looks professional and one that does not.
Step 3: Choose the Right Stain and Apply It
Source: Shutterstock
Before choosing a wood stain, first decide if staining is right for the finish you want. If you want to preserve and enhance the natural wood grain, staining is a great option. If you prefer an opaque colour that covers the grain completely, staining may not be necessary. You can move on to priming and painting once the wood is properly prepared.
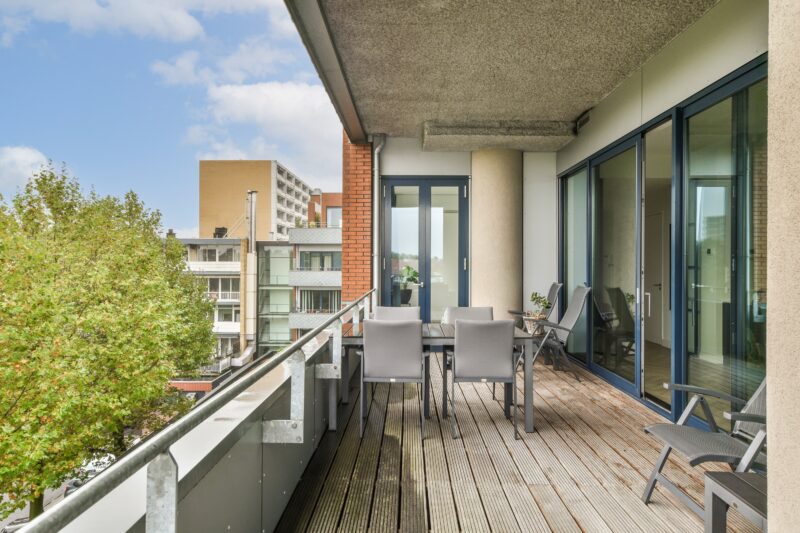
If you do choose to stain, the next consideration is where the wood will be used. For outdoor wood in Singapore, pay particular attention to two key threats: UV exposure and moisture. The amount of sunlight and rain your decking, patio or outdoor furniture receives will help determine the type of stain and protection you need.
For Kayu Primarily Exposed to Sunlight
If your wood is sheltered from rain but still receives strong sunlight through the day, consider Nippon Paint SolarShield. It provides an enhanced level of UV-ray protection to prevent fading, greying and surface degradation, making it ideal for Singapore’s intense equatorial sun.
For Kayu Exposed to Both Rain and Sun
For outdoor wood that is regularly exposed to both direct sunlight and heavy rain, look for a stain with water-repellent properties and UV protection. This combination helps protect timber against the effects of moisture and prolonged sun exposure.
For Outdoor Wooden Furniture
Outdoor chairs, tables and benches have to withstand the elements as well as frequent everyday use. Nippon Paint TimberCoat helps protect outdoor surfaces against sun and rain, keeping them looking fresh despite Singapore’s tropical conditions.
Step 4: Apply a Wood Primer
Once the wood is clean, smooth and free of sanding dust, apply a wood primer to create a stable base for your paint. Primer helps the paint adhere better, seals porous wood and creates a more even surface for consistent colour coverage. Certain primers can also help prevent tannins, stains or discolouration from bleeding through the finished paint.
Apply a thin, even coat in the direction of the wood grain and allow it to dry according to the manufacturer’s instructions. Once dry, lightly sand the primed surface with fine-grit sandpaper to smooth out any raised grain or imperfections, then wipe away the dust before painting.
Why this step matters: Skipping primer can lead to uneven coverage, poorer adhesion and a finish that may not last as well.
Step 5: Apply the First Coat of Paint
Source: Shutterstock
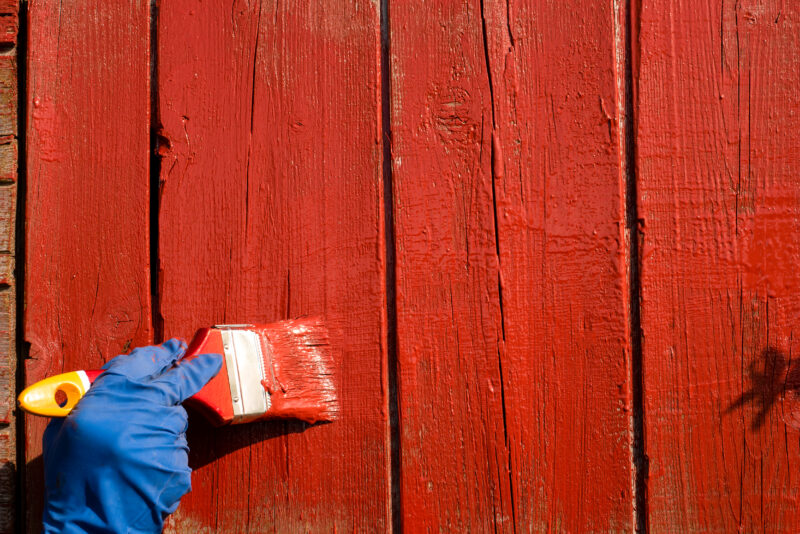
Now for the fun part, adding colour. You don’t have to stick to the wood’s original tone. You can choose a shade that complements your existing space or go for something bolder to completely transform tired-looking furniture, doors or other wooden features.
Once you’ve chosen your colour, stir the paint thoroughly and apply a thin, even first coat using a suitable brush or roller. For brushes, work in long, consistent strokes in the direction of the wood grain, and keep a clean cloth nearby to wipe away any drips before they dry.
Avoid applying too much paint at once. Several thin coats generally create a smoother, more even finish than one thick coat.
Tip: For large, flat surfaces, a roller can make application quicker and more even, while a brush gives you better control over corners, edges and detailed areas.
Step 6: Let It Dry and Apply a Second Coat
Once the first coat has dried, check the surface for any rough spots, drips or imperfections. If necessary, lightly sand with fine-grit sandpaper and wipe away all dust before applying the next coat.
Apply the second coat using the same thin, even strokes. A second coat helps build colour depth, even out the coverage and improve the durability of the finished surface. Depending on the paint, colour and surface underneath, additional coats may sometimes be required.
Step 7: Allow the Paint to Fully Cure
Once you’ve applied your final coat, give the paint enough time to fully cure before putting the surface back into regular use. Keep in mind that paint can feel dry to the touch before it has completely hardened, so check the manufacturer’s recommended curing time.
Avoid placing heavy objects on painted furniture or exposing the surface to unnecessary wear while it cures.
Step 8: Seal the Wood, If Needed
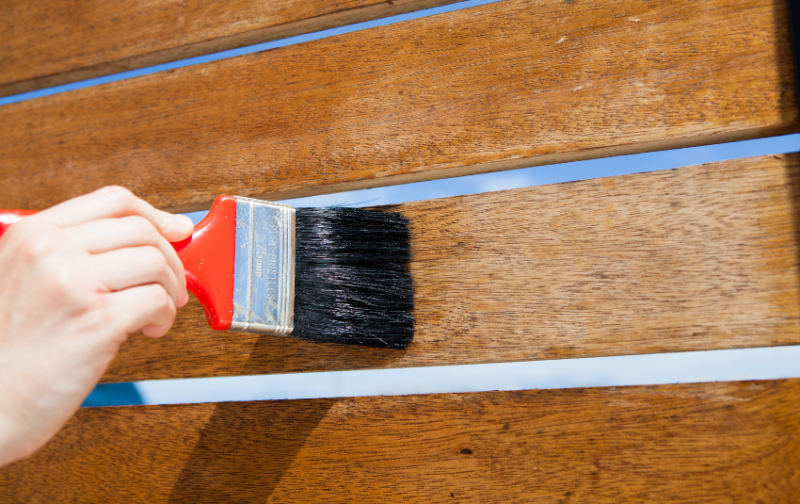
Once the paint has fully cured, you can apply a compatible protective sealer or clear topcoat if your chosen paint or application requires one. This can provide an additional layer of protection against everyday wear, moisture and the elements, which may be useful for frequently used or outdoor wooden surfaces.
What Type of Paint Is Best for Wood?
The best paint for wood depends on the surface you’re painting, where it will be used and the amount of wear or weather exposure it receives. Paint that works well on an indoor cabinet, for example, may not provide the durability needed for outdoor furniture exposed to Singapore’s sun and rain.
Water-Based vs Oil-Based Paint for Wood
Both water-based and oil-based paints can be used on wood, but they offer different advantages.
| Water-Based Paint | Oil-Based Paint | |
| Drying time | Faster | Slower |
| Bau | Generally lower | Generally stronger |
| Clean-up | Usually soap and water | Typically requires solvent |
| Kemasan | Flexible, easy to work with | Smooth, hard-wearing finish |
| Yellowing | Less prone to yellowing | May yellow over time |
| Best for | Many everyday indoor and outdoor applications* | High-wear surfaces where compatible* |
*Always check the individual product specifications, as performance varies by formulation.
For Indoor Wooden Furniture
For cabinets, shelves, tables and other indoor furniture, look for a paint that provides a smooth, durable and easy-to-clean finish. Water-based paints are a convenient option for many indoor DIY projects because they generally dry quickly and have lower odour than traditional solvent-based alternatives.
For a glossy finish that showcases the natural wood grain, Nippon Paint Timberlac can be used on furniture, doors, timber panels and other wooden surfaces.
For Outdoor Wood
Outdoor wooden furniture, fences, gates and other exterior timber need paint designed specifically for exterior use. These products are formulated to better withstand outdoor exposure such as sunlight, rain and moisture.
This is particularly important in Singapore, where outdoor timber regularly faces strong UV exposure, high humidity and frequent rainfall. Nippon Paint TimberCoat, for example, is formulated for exterior timber and can be used on surfaces such as outdoor furniture and fences.
For High-Touch and High-Traffic Wood
Doors, railings, chairs and other frequently handled surfaces experience more wear than decorative wooden features. Look for a durable, washable coating suited to regular contact and cleaning.
Common Mistakes to Avoid When Painting Wood
Even with the right paint and tools, a few simple mistakes can affect how your finished wood looks and how long the paint lasts. Keep these common pitfalls in mind before and during your project:
- Painting dirty wood: Dirt, grease and grime can prevent paint from adhering properly. Clean and dry the surface first.
- Skipping necessary sanding: Sanding smooths imperfections and helps primer and paint adhere better.
- Not removing sanding dust: Leftover dust can create a rough, uneven finish. Wipe the surface clean before painting.
- Using the wrong primer or paint: Choose products suited to your type of wood and whether it will be used indoors or outdoors.
- Applying paint too thickly: Thick coats can drip and dry unevenly. Apply several thin coats instead.
- Not allowing enough drying time: Let each coat dry according to the manufacturer’s instructions before applying the next.
- Painting outdoors in unsuitable weather: Rain, high humidity and intense sunlight can affect drying and adhesion.
- Using furniture before the paint has cured: Give painted surfaces enough time to fully harden before regular use.
Give Your Wood a Fresh Start
A fresh coat of paint can do more than improve the appearance of your wood, it can also help protect it from everyday wear and Singapore’s outdoor conditions. With the right preparation, suitable products and a little patience between coats, you can give everything from outdoor furniture and doors to fences and other timber features a smooth, lasting refresh.
Browse Nippon Paint’s full range of wood stains, UV-protective paints and outdoor sealers or visit your nearest Nippon Paint Colour Centre for personalised advice on choosing the right products for your next wood painting project.
FAQs About How To Paint Wood
Can you paint directly onto wood?
Yes, but it’s generally best to prepare the wood first. Clean the surface thoroughly, sand it where needed and apply a suitable primer before painting. This helps the paint adhere properly and creates a smoother, longer-lasting finish.
What kind of paint will stick to wood?
Many water-based and oil-based paints formulated for wood will adhere well when the surface is properly prepared. The best choice depends on the type of wood and where it will be used. For outdoor wood, choose a paint designed for exterior use that can withstand exposure to sunlight, rain and moisture. Always check the product specifications to ensure it is suitable for wood.
How often should I refurbish my outdoor deck in Singapore?
For uncovered decks exposed to direct sun and rain, a full strip-and-restain process is typically needed every three to five years. However, applying a maintenance coat of UV-protective stain or sealer every one to two years can significantly extend the time between full refurbishments.
Can I paint over an old deck without stripping it first?
No. Skipping the stripping step is the most common reason patio paint jobs fail prematurely. The new stain cannot bond properly to old varnish, paint or weathered sealers, so the new coat will peel or flake within months. Always strip back to bare or near-bare timber before staining.
How long does it take to refurbish a patio?
A standard patio refurbishment typically takes one to two weekends. The timeline depends on the size of your deck and the drying times required between coats. Rushing drying times is the most common cause of a poor finish.
What is the best paint for outdoor wooden furniture in Singapore?
Nippon Paint SolarShield is formulated specifically for outdoor wooden furniture, providing resistance to UV rays and moisture — the two primary causes of deterioration for outdoor timber in Singapore.
How can I maintain my wood furniture?
Keep wood furniture clean by dusting and wiping it regularly with a soft, slightly damp cloth, and clean up spills promptly to prevent moisture damage. Avoid harsh cleaners and prolonged exposure to direct sunlight or rain where possible. For painted outdoor furniture, check periodically for fading, peeling or cracks and touch up or recoat the surface when needed to maintain its appearance and protection.
How To Paint A Room: An 8-Step Guide