Source: Pakula Piortr/Shutterstock.com
Picture this: you step into your freshly painted home and the walls look immaculate. The living room feels lighter, the kitchen is transformed, and the whole space feels renewed. You’re quietly pleased with yourself.
Then you peek into the toilet, and there it is — the exposed pipe under the sink, looking like it belongs in a different decade. Or you swing open the main gate and wince at the flaking rust you somehow managed to ignore throughout the entire planning process.
It happens to almost everyone. The excitement of a new paint job tends to focus attention on the big, obvious surfaces — walls and ceilings — while some of the most visible details get missed entirely.
Here are five spots that homeowners in Singapore most commonly overlook, plus exactly how to tackle each one.
1. The Main Gate
Source: Brian Jeffery Beggerly/Flickr
Your main gate is one of the first things guests and passers-by see — and ironically, one of the surfaces most likely to be overlooked when planning a home repaint. Years of Singapore’s humidity and rain are unkind to metal, and a rusty, flaking gate can undermine even the most beautifully painted home beyond it.
How to repaint your main gate:
- Remove loose rust and old paint with a hard wire brush or sandpaper, working in the direction of the metal grain
- Apply at least one coat of a rust-inhibiting metal primer, ensuring full coverage including corners and joints. Nippon Paint Metallux is a strong choice here — it acts as both a primer and topcoat for ferrous metals like cast iron and aluminium, is quick-drying, and provides active corrosion protection
- Once the primer is fully dry, apply two coats of a quality metal topcoat. Bodelac 9000 delivers a durable, high-gloss finish suited for external metal surfaces
- Allow each coat to dry fully before applying the next
Done properly, a freshly painted gate will easily last several years — and no one (except you) will know it’s decades old.
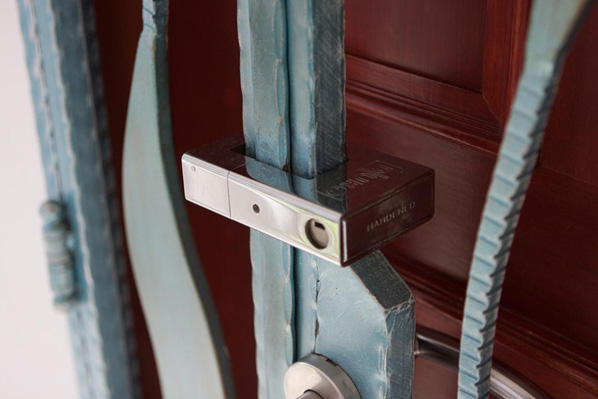
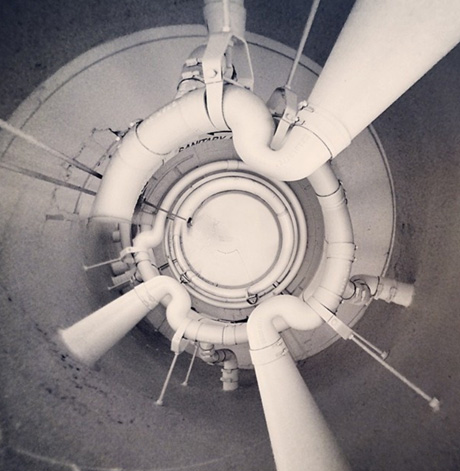
2. Exposed Pipes
 Source: Islxndis/Flickr
Exposed pipes are often treated as an eyesore to be hidden, but with a little creativity they can become a genuine design feature. Painting them in a contrasting or complementary colour to the surrounding wall can turn an awkward detail into a deliberate style choice — particularly effective in industrial, retro, or eclectic interiors.
If you’d rather they blend in, painting them the same colour as the wall is equally valid and visually much cleaner than leaving bare or mismatched metal.
For metal pipes, use a metal-appropriate paint like Aqua Bodelac — a water-based enamel that’s low-odour, low-VOC, and suitable for interior metal and wood surfaces. Lightly sand and clean the pipe surface before painting for the best adhesion.
Design idea: Matte black pipes against a sage green or deep navy wall are a particularly popular combination in 2026’s industrial-inspired interiors.
3. Window Grilles
Source: Vadim Kozlovsky/Shutterstock.com
Window grilles are exposed to the elements constantly — sun, rain, and humidity work on them year-round — and rust is almost inevitable on older metal grilles that haven’t been maintained. Fortunately, the process for repainting them is the same as for the main gate.
- Remove rust and loose paint with a wire brush or sandpaper
- Apply a coat of Nippon Paint Metallux as a rust-inhibiting primer/topcoat base
- Finish with two coats of your chosen metal topcoat — Bodelac 9000 in the appropriate colour
Clean, freshly painted grilles make a disproportionate difference to the exterior appearance of any HDB or landed property — they’re one of the details that distinguishes a well-maintained home from a neglected one.
4. Outlet Covers and Switch Plates
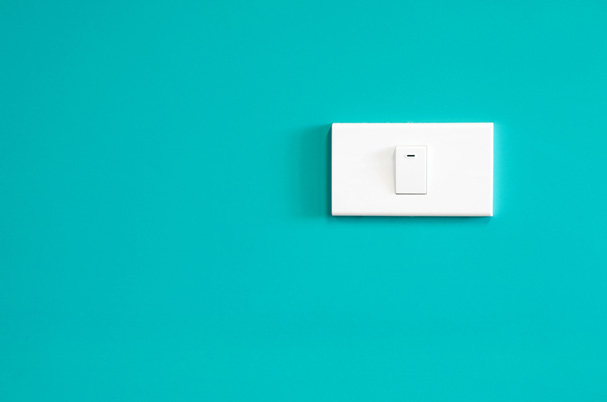
Source: Phichet Chaiyabin/Shutterstock.com
A yellowed or grimy electrical outlet cover is a small detail that registers subconsciously — it’s one of those things you may not notice in isolation but that contributes to a room feeling old or tired.
A fresh coat of paint over outlet covers and switch plates instantly refreshes them and ensures they match your newly painted walls perfectly. Remove them from the wall before painting for a neater finish, and use a small brush to apply a smooth, even coat in your chosen wall colour.
Safety note: Always switch off the power at the circuit breaker before removing outlet covers. Allow the paint to dry completely before reinstalling.
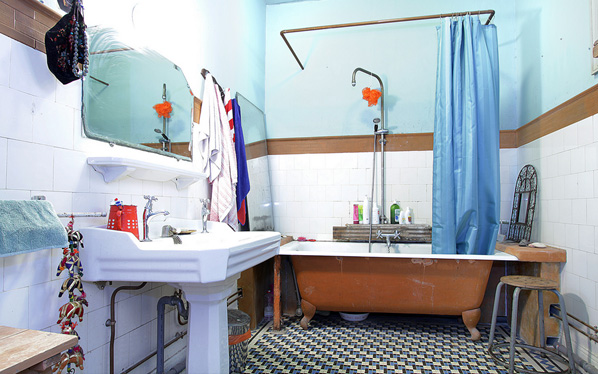
5. Sanitary Branch Pipes and the Walls Behind Them
Source: Spiro Bolos/Flickr
The pipes behind your toilet and under sinks are often ignored simply because they’re awkward to reach and easy to overlook — but they’re visible, and a fresh coat of paint makes a real difference to how clean and finished a bathroom feels.
For a seamless look, paint the pipes and the wall behind them in the same colour as the rest of the bathroom — they’ll virtually disappear. If you prefer a more unconventional approach, use a bold accent colour on the pipes for an intentional, design-forward statement that turns a functional necessity into a visual feature.
Use Aqua Bodelac for metal pipes in bathroom spaces — its water resistance, low odour, and ease of application with a brush make it well suited for these tight, often poorly ventilated spaces.
How Much Paint Will You Need?
Source: Efetova Anna/Shutterstock.com
Once you’ve identified all the areas you plan to paint — including those you might otherwise have missed — the next step is working out how much paint to buy. Getting this right matters: too little and you’ll face colour inconsistencies between batches; too much and you’ll have leftover paint to manage.
The calculation:
- Measure the height and width of each surface to be painted
- Subtract the area of any doors, windows, or features you’re not painting
- Multiply the total paintable area (in m²) by the number of coats required
- Divide the result by the coverage rate shown on your chosen paint tin (expressed as m²/litre)
If maths isn’t your strong suit, the Nippon Paint Calculator at nipponpaint.com.sg/paint-calculator/ does all of this for you — just enter your room dimensions and it’ll tell you exactly how much to buy.
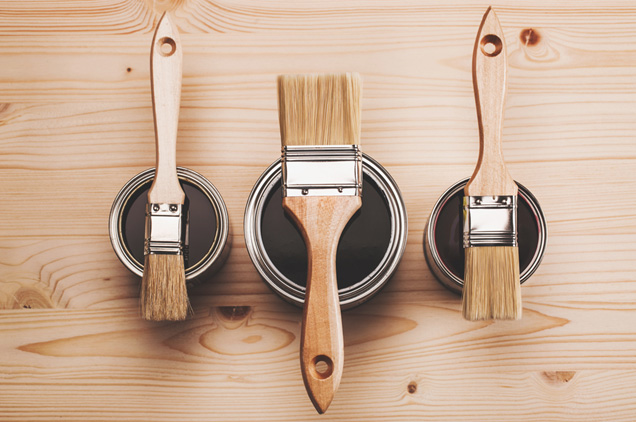
A note on brushes and tools: Different surfaces need different tools. A 2.5cm angled brush is ideal for tight corners, window grilles, and pipes; a wider 8cm straight-edged brush works well for door frames and larger metal surfaces; and a roller is best for broad, flat wall areas. Quality tools consistently deliver a smoother finish than budget ones — they’re worth the small additional investment.
What to Do with Leftover Paint
Before you wrap up, set aside any leftover paint for future touch-ups. Store it in a sealed, labelled tin in a cool, shaded area. Water-based paints keep well for up to 5 years when properly sealed — see Nippon Paint’s Disposal and Storage Guide for full guidance on storage and responsible disposal.
Leftover paint also works beautifully for small creative projects — old lamp bases, picture frames, plant pots, and decorative trays can all be refreshed with a single coat for a personalised, coordinated touch throughout your home.
With these often-forgotten spots factored in, your home repaint will be genuinely complete — not just the walls. For a truly fuss-free experience, Nippon Paint’s Professional Painting Service handles everything from site inspection to final touch-up. Visit nipponpaint.com.sg/professional-painting-service/ to enquire or get a quotation.
10 Painting Terms You Should Know Before Buying Paint