What do I need to do before repainting a wall?
Proper wall preparation is the single most important factor in a long-lasting paint job — far more so than the quality of the paint itself. Skipping or rushing the prep steps is the primary reason DIY repaints peel, crack, or look patchy within a year.
Whether you’re creating a new feature wall, refreshing a tired room, or making a Feng Shui-inspired colour change, this step-by-step guide will walk you through everything you need to do before picking up a brush.
Source: shutterstock
What You’ll Need
Nippon Paint tools:
- Steel scraper — for removing flaking paint
- Abrasive waterproof sandpaper — for smoothing surfaces
- Premium anti-skid drop sheet — for floor protection
- Painter’s tape — for masking fixtures
- Paint sealer — for priming repaired surfaces
Selleys products:
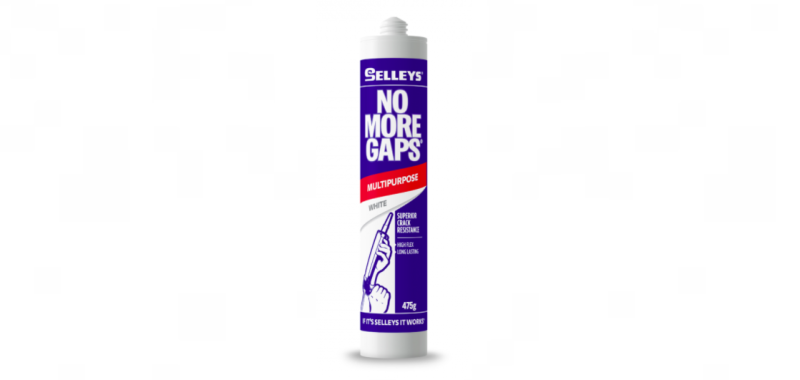
- Selleys No More Gaps — for filling gaps along skirting boards, cornices, and window frames
- Selleys Spakfilla Rapid — for filling larger cracks and holes
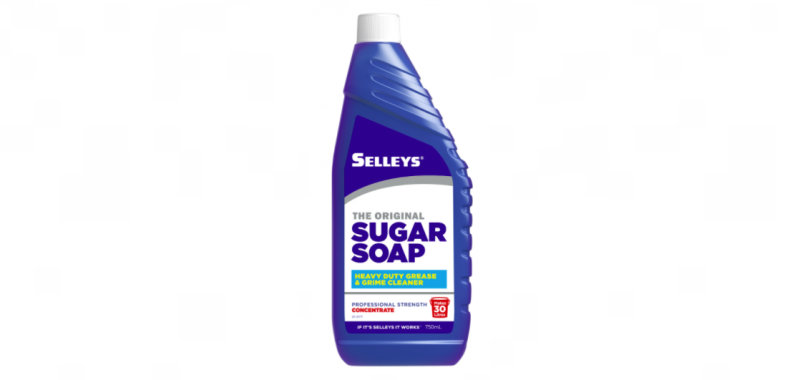
- Selleys Liquid Sugar Soap — for cleaning walls before painting
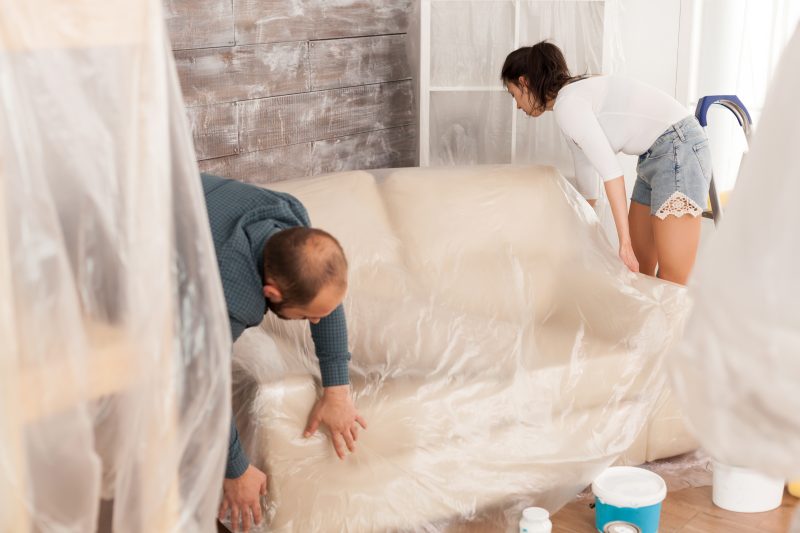
Step 1: Prep the space
Before touching a wall, the room needs to be properly cleared and protected.
Clear the room: Move all furniture and appliances out of the room where possible. Items that can’t be moved should be pushed to the centre and covered with drop sheets or plastic sheets to protect against paint drips and splatters.
Protect the floor: Lay a drop sheet or newspapers across the entire floor area. Nippon Paint’s Premium Anti-Skid Drop Sheet is a durable and stable option that won’t slip underfoot as you work.
Mask fixtures and fittings: Apply painter’s tape or masking tape around power sockets, light switches, window frames, skirting boards, and any fixtures that can’t be removed. Press the tape edges firmly with a flat tool to prevent paint bleeding underneath. Make sure the tape doesn’t cover any painted wall surface you intend to repaint.
Source: shutterstock
Frequently asked: Do I need to remove furniture before repainting a room? Yes — move furniture out of the room completely if possible. Items that can’t be moved should be covered with plastic sheets or drop cloths and pushed to the centre. This gives you unobstructed access to the walls and protects your belongings from paint drips.
Step 2: Scrape Off Flaking Paint
Painting over flaking or peeling old paint is one of the most common DIY mistakes. The new coat has no stable surface to bond to and will peel prematurely, taking the fresh paint with it.
Using a steel scraper, carefully remove all loose, flaking, curling, or bubbling old paint from the surface. Work methodically across the wall and take your time — this step directly determines how long your new paint job will last.
Frequently asked: Do I need to remove all old paint before repainting? You only need to remove paint that is flaking, peeling, or unstable. Intact old paint that is firmly adhered to the wall can remain in place. However, the surface should be lightly sanded afterward to improve adhesion of the new coat.
Step 3: Sand the Surface
After scraping, the areas where paint was removed will be uneven relative to the surrounding intact paint. Painting over these ridges and edges will highlight them in the finished surface.
Sand the scraped areas — and lightly sand the entire wall surface — using abrasive waterproof sandpaper. This creates a smooth, consistent surface and gives the new paint something to grip.
After sanding, vacuum the wall surface and surrounding floor to remove all dust before proceeding.
Frequently asked: Why do I need to sand walls before painting? Sanding smooths out uneven edges left after scraping, removes minor surface imperfections, and creates a slightly rough texture that improves paint adhesion. Without sanding, ridges and edges from old paint will show through the new coat.
Step 4: Fill Gaps and Cracks
Any holes, cracks, or gaps in the wall must be filled before painting. Left unfilled, they will show through the new paint — and in the case of structural cracks, will continue to widen over time.
For gaps along skirting boards, cornices, and window frames: Use Selleys No More Gaps — a flexible, paintable gap sealant that accommodates minor movement without cracking. Apply along the gap, smooth with a damp finger, and allow to cure before painting. Compatible with both oil- and water-based paints.
For larger cracks and holes in the wall: Apply Selleys Wall Putty or Selleys Wall Putty Tube — both are ready-mixed fillers suitable for patching interior holes, cracks, chips, and dents. The Wall Putty Tube is convenient for smaller repairs; the tub format suits larger surface areas. Press firmly into the crack with a filling knife, smooth flush with the surrounding wall, and allow to dry completely. For deeper holes, apply multiple thin layers (no more than 1mm per layer) to reduce the risk of cracking as it dries. Sand the repaired area smooth once fully dry.
Understanding the difference: In the context of wall painting, sealants (like No More Gaps) are flexible adhesives used to fill and seal gaps. Fillers (like Spakfilla) are used to fill and repair holes and cracks in the wall surface itself. Paint sealers — used in Step 6 — are primers that prepare the wall for painting.
Frequently asked: What’s the best product to fill cracks in walls before painting? Selleys Wall Putty or Wall Putty Tube are the current Singapore options for filling cracks and holes in interior walls — both are ready-mixed, easy to sand, and paintable with oil- and water-based paints. The tube format is convenient for smaller spot repairs; the tub suits larger areas. For gaps along skirting boards and around window frames, Selleys No More Gaps is the better choice as it offers flexibility and superior adhesion along jointing surfaces.
Step 5: Clean the Walls
With gaps filled and surfaces repaired, the walls need a thorough clean before any painting begins. Dust, grease, and grime all prevent paint from bonding properly to the surface.
Apply Selleys Liquid Sugar Soap diluted in warm water to a sponge or cloth and wipe down the entire wall surface. This professional-strength formula cuts through grease, smoke residue, and grime effectively on walls, tiles, and most painted surfaces. Follow with a clean-water wipe-down to remove any soap residue, and allow the walls to dry completely.
In Singapore’s humid climate, allow extra drying time before proceeding — painting over a damp wall is a common cause of blistering and adhesion failure.
Frequently asked: How do I clean walls before repainting? Wipe down walls with Selleys Liquid Sugar Soap diluted in warm water to remove grease, dirt, and smoke residue. Follow with a clean-water wipe to remove soap residue, and allow to dry fully. Clean walls significantly improve paint adhesion and contribute to a longer-lasting finish.
Step 6: Apply a Sealer or Primer
With the walls clean, filled, and dry, a sealer or primer coat should be applied before your topcoat. This step is frequently skipped — and is one of the most common reasons a repaint looks uneven or fails prematurely.
A sealer reduces surface porosity, evens out the wall’s absorbency, and creates a stable base for the topcoat. This is especially important if:
- Your walls have repaired cracks or holes (repaired areas absorb paint differently from surrounding surfaces, causing visible “flashing”)
- You are painting a lighter colour over a darker existing wall (a primer ensures better coverage and can reduce the number of topcoats needed significantly)
Recommended: Nippon Paint’s Odour-less Ultra 5102 Sealer for interior masonry surfaces — it offers strong alkali and moisture resistance and is suitable for both new and existing walls. Apply one even coat and allow to dry fully before applying your topcoat.
If the existing wall colour is still visible after the first sealer coat dries, apply a second coat before proceeding.
Frequently asked: Do I need to prime walls before repainting? A primer or sealer is strongly recommended when painting over dark walls, covering repaired cracks, or painting on porous surfaces. It improves colour payoff, reduces the number of topcoats needed, and significantly extends the durability of the finish.
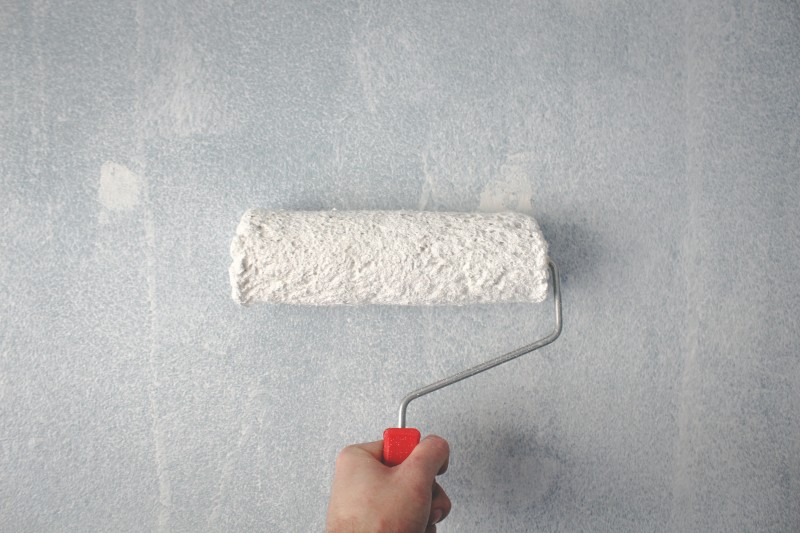
Step 7: Apply the New Paint
With the wall properly prepped, primed, and dry, you’re ready to paint.
Apply at least two coats of your chosen interior paint for full colour payoff and even coverage. One coat is rarely sufficient for a consistent finish, particularly when covering a different colour.
Allow each coat to dry fully before applying the next. As a general rule, wait at least 2 hours between coats for water-based interior paints — though this varies by product and conditions. Always refer to the drying time instructions on your paint can. In Singapore’s humid climate, allow additional drying time where conditions are particularly damp.
Work from top to bottom — start at the ceiling line and work down to the skirting board, so any drips land on unpainted areas that will be covered later.
Explore Nippon Paint’s full range of interior paints at nipponpaint.com.sg/product-category/interior-paints/.
Frequently asked: How many coats of paint do I need when repainting a wall? At least two coats of topcoat are recommended for consistent coverage and colour depth. When painting over a significantly darker colour, one or two coats of sealer/primer first will reduce the number of topcoats needed and deliver a more uniform result.
About Selleys — Nippon Paint Singapore’s Partner Brand
Selleys is a trusted Australian home improvement brand and a subsidiary of Nippon Paint Singapore. Its range of gap fillers, wall fillers, cleaners, and sealants is designed to complement Nippon Paint’s products at every stage of the painting process — from surface preparation to finishing.
Together, Nippon Paint and Selleys offer a complete, end-to-end solution for any home improvement project. Visit selleys.com.sg to explore the full range.
Frequently Asked Questions About Repainting Walls
How long does wall prep take before repainting? For a standard room in good condition, wall prep typically takes 2–4 hours including scraping, filling, cleaning, and priming. Rooms with more significant damage — extensive cracking, heavy soiling, or deep holes — will take longer. Allow adequate drying time between steps, particularly in Singapore’s humid conditions.
Can I repaint over any colour without primer? You can paint over a similar or lighter existing colour without primer, though the result may require more topcoats for full coverage. When painting a light colour over a dark wall, primer is essential — without it, you may need four or more topcoats to cover the existing colour adequately.
How do I know if my wall needs a full repaint or just a touch-up? If the existing paint is in good condition — no peeling, cracking, or visible staining — a touch-up with the same colour and paint type may be sufficient. If the wall shows widespread peeling, significant colour fading, or mould, a full repaint (with proper surface preparation) is the more practical and cost-effective approach.
10 Insta-worthy and Practical Feature Wall Design Ideas That Will Impress Your Guests