Can you paint over an already painted wall?
Yes — but only if the wall is properly prepared first. Painting directly over old, flaking, or poorly cleaned paint is one of the most common DIY mistakes, and it almost always leads to premature peeling, uneven coverage, and a finish that looks worse than the original. Done correctly, however, painting over an existing painted wall is entirely achievable and delivers results that can last for years.
Whether you’re refreshing a tired living room, covering scuffs and marks, or making a bold colour change, here are six steps to do it properly.
1. Prep the area
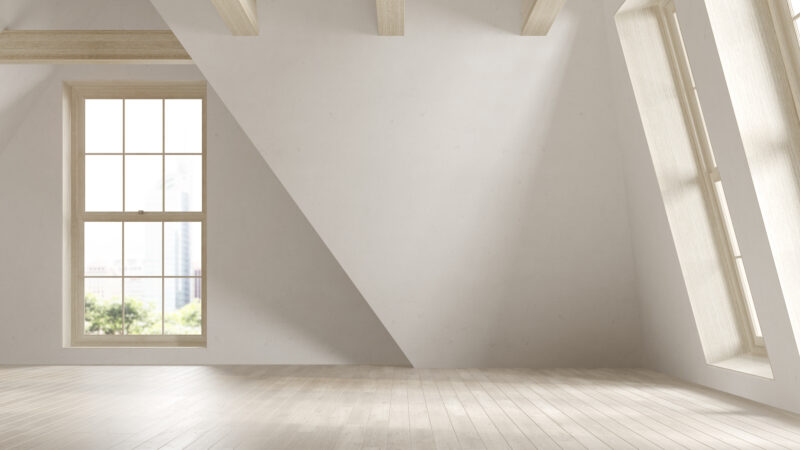
Source: Shutterstock
Good preparation is the foundation of every successful paint job — and it’s the step most people underestimate.
Start by clearing the room completely. Remove all furniture, rugs, and appliances where possible. For items that can’t be moved, push them to the centre of the room and cover with drop sheets. Lay additional drop sheets or newspapers on the floor to protect against drips and splatters.
Use painter’s tape to mask off power sockets, light switches, window frames, skirting boards, and any fixtures you don’t want painted. Press the tape edges firmly with a flat tool — a credit card or putty knife — to prevent paint from bleeding underneath.
Finally, gather all the tools you’ll need before you start: scrapers, sandpaper, filler, primer, brushes, rollers, and your chosen paint. Having everything ready prevents interruptions mid-job.
Tip: Refer to Nippon Paint’s complete guide on how to prep your area before a paint job for a full pre-painting checklist.
Frequently asked: What do I need to prepare before painting a wall? Clear and protect the room, mask off fixtures with painter’s tape, cover floors with drop sheets, and gather all tools before starting. Proper preparation prevents paint splatter on surfaces you want to keep clean and ensures a smoother, faster painting process.
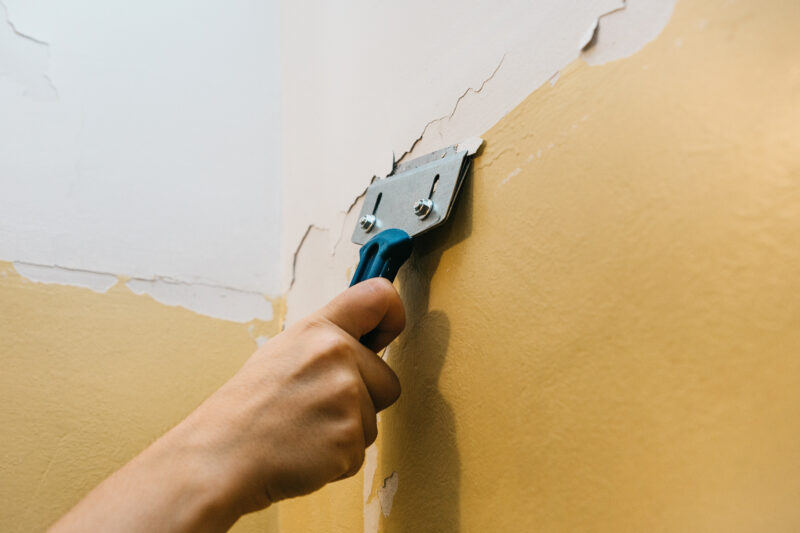
2. Scrape Off Old or Flaking Paint
Source: Shutterstock
This step is non-negotiable. Do not paint over flaking or peeling paint — no matter how tempting the shortcut may be.
Old, loose paint creates an unstable surface that prevents your new coat from bonding properly. Any areas that are already peeling will continue to peel after repainting, taking the fresh coat with them. The result is a paint job that fails far sooner than it should.
Use a paint scraper to remove all loose, flaking, or bubbling paint from the surface. Work methodically across the wall, applying consistent pressure. For stubborn areas, use sandpaper to smooth down the edges where old and intact paint meet — this “feathers” the transition and prevents a visible ridge showing through the new coat.
Once scraping is complete, sand the entire wall surface lightly to create a slightly rough texture that gives the primer and paint something to grip.
Frequently asked: Do I need to remove old paint before repainting a wall? Yes — all flaking, peeling, or bubbling paint must be removed before repainting. Painting over loose paint causes the new coat to peel prematurely. Intact old paint in good condition can remain, but the surface should be lightly sanded before priming.
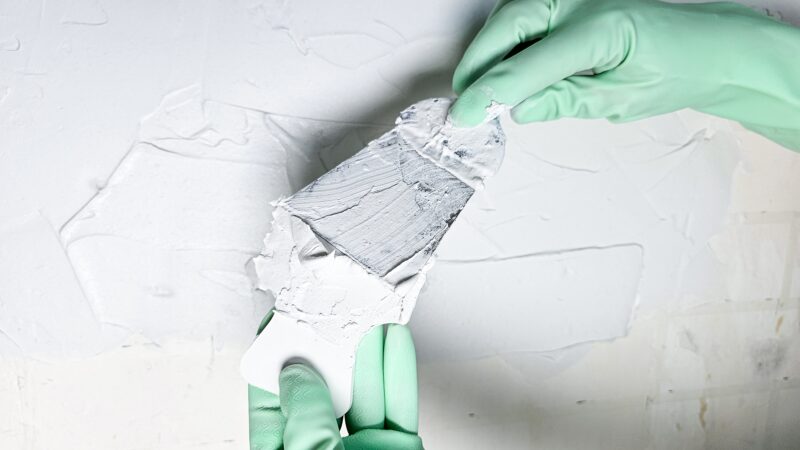
3. Fill in Holes and Cracks
Source: Shutterstock
Even small holes and hairline cracks will show through a new coat of paint if not addressed first. Taking the time to fill and smooth every imperfection ensures a consistently flat, professional-looking finish.
Apply wall putty or a suitable wall filler to any visible holes or cracks using a filling knife or scraper. For shallow marks, one application is typically sufficient. Deeper holes may need two or more layers — allow each layer to dry completely before applying the next.
Once the filler is fully dry, sand the repaired areas smooth and flush with the surrounding wall. Run your hand across the surface to check for any remaining bumps or ridges.
Tip: For guidance on dealing with hairline cracks specifically, see Nippon Paint’s guide to fixing wall cracks.
Frequently asked: How do I fill cracks in a wall before painting? Apply wall putty or filler using a filling knife, press it firmly into the crack, and smooth flush with the surrounding surface. Allow to dry fully, then sand smooth. Deeper cracks may require two applications. Always fill before priming, never after.
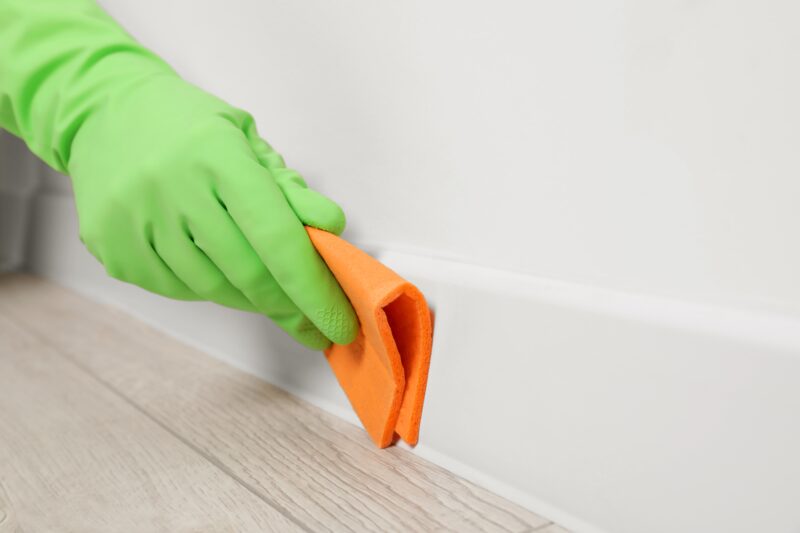
4. Clean the Walls
Source: Shutterstock
After scraping, filling, and sanding, the wall surface will be coated in dust, debris, and residue — all of which will interfere with paint adhesion if not removed.
Start by vacuuming the wall surface and surrounding floor to remove loose dust and sanding particles. Then wipe the walls down with a damp cloth and a mild detergent or Selleys Liquid Sugar Soap to remove any grease, grime, or remaining residue. Follow with a clean-water wipe to remove any soap residue from the wall.
Allow the walls to dry completely before moving on to priming. In Singapore’s humid climate, this may take longer than expected — painting over a damp surface is a leading cause of blistering and adhesion failure.
Tip: For a full guide on cleaning walls before painting, see Nippon Paint’s wall cleaning guide.
Frequently asked: Do I need to clean walls before repainting? Yes — always. Dust, grease, and soap residue all prevent paint from bonding properly to the surface, leading to poor adhesion and an uneven finish. A thorough clean before priming is one of the most important steps in achieving a lasting result.
5. Prime Darker Walls (and Repaired Areas)
Source: Shutterstock
Priming is a step that many DIYers skip — and one of the most common reasons repaint jobs underperform. A primer creates a stable, uniform base that improves the adhesion and coverage of your topcoat, and is essential in two specific situations:
Painting a lighter colour over a dark wall: Without primer, covering a dark colour with a lighter one can require four or more topcoats — making it far less cost-efficient than applying one or two coats of primer first. Apply primer until the original wall colour is no longer visible, allow to dry fully, then apply your topcoat.
Covering repaired areas: Filled and sanded repairs absorb paint differently from the surrounding wall surface, often causing visible “flashing” (patches that appear shinier or more matte than the rest). Priming the entire wall — not just the repaired spots — ensures consistent absorption and a uniform finish.
For interior masonry surfaces, Nippon Paint’s Odour-less Ultra 5102 Sealer is an excellent choice — it provides strong alkali and moisture resistance and creates an ideal base for all Nippon Paint interior topcoats.
Frequently asked: Do I need to prime before repainting a wall? Always prime when painting a lighter colour over a dark wall, or when the wall has repaired cracks or holes. Priming also improves adhesion and colour payoff in general repaints, and is especially important in Singapore’s humid conditions where moisture resistance matters.
6. Apply Two Coats and Allow Proper Drying Time
Source: Shutterstock
With your wall clean, repaired, and primed, you’re ready to paint. For the best results, always apply two coats of your chosen topcoat — and allow each coat to dry fully before applying the next.
Applying a second coat before the first has dried is one of the most common causes of a blotchy, uneven finish. The wet paint beneath lifts and mixes with the new coat, resulting in streaks, colour inconsistencies, and poor coverage. Always refer to the drying time instructions on your specific paint can. As a general rule, allow a minimum of two hours between coats for water-based interior paints, though in Singapore’s humidity, longer is always safer.
The second coat significantly improves colour depth, consistency, and the overall durability of the finish. Don’t skip it.
Frequently asked: How long should I wait between paint coats? Wait a minimum of two hours between coats for most water-based interior paints, and always check the drying time specified on your paint can. In Singapore’s humid conditions, err on the side of waiting longer rather than shorter — painting over a coat that hasn’t fully dried leads to a blotchy, uneven finish.
Frequently Asked Questions About Painting Over Painted Walls
How many coats of paint do I need when repainting a wall? At least two coats of topcoat are recommended for full, even coverage. When painting a light colour over a dark one, one or two coats of primer plus two topcoats are typically needed. Each coat must be fully dry before the next is applied.
What happens if I paint over old paint without preparation? The new paint will likely fail prematurely — peeling, flaking, or developing an uneven texture. This is because the new coat has no stable surface to bond to. Proper preparation (scraping, filling, cleaning, and priming) is always more cost-effective than repainting a failed job.
Can I paint over gloss paint? Yes, but the surface must be sanded first to dull the sheen and create a surface the new paint can grip. Clean the wall after sanding to remove dust, then prime before applying your new topcoat.
Should I hire a professional or paint myself? This depends on the size of the project, the complexity of the wall condition, and your confidence with the process. For a straightforward repaint of a room in good condition, a capable DIYer can achieve excellent results by following the steps above. For larger projects, walls with significant damage, or when a guaranteed finish is important, Nippon Paint’s Professional Painting Service is worth considering — the team conducts a site inspection before starting and uses Nippon Paint products throughout. Visit nipponpaint.com.sg/professional-painting-service/ for packages and quotations.
6 Things You Should Do to Prep for A Paint Job