Most people plan carefully for the painting itself — the colour, the finish, the number of coats. Far fewer give the same attention to what happens before the first stroke of paint goes on. That is a mistake, because preparation is what determines whether the final result looks professional or whether you spend the following weekend cleaning paint off your skirting boards, furniture and floor.
If you have decided to take on a home repaint yourself, the guide below walks you through everything that needs to happen before you open the first tin. Work through these six steps methodically and the painting itself will be significantly more straightforward.
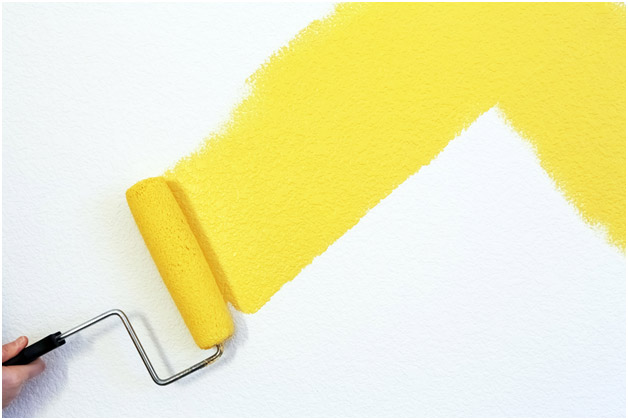
1. Buy the Right Type of Paint for the Job
Source: Shutterstock — topseller
Paint is not a universal product. Different formulations are designed for different surfaces and environments — what works well on an interior wall will perform poorly on an exterior facade, and vice versa. Before anything else, confirm you have the right paint for the surfaces you are covering.
For a home interior repaint, you want paint from the interior range — formulations designed for indoor use that balance coverage, durability, washability and finish. Within that, there are further choices to make depending on the specific needs of each room: anti-mould formulations for kitchens and bathrooms, low-VOC options for bedrooms and children’s rooms, and washable finishes for high-traffic areas. Nippon Paint’s interior range covers all of these, with a full spectrum of colours and finishes to choose from.
Getting this decision right before you start saves the frustration of discovering mid-project that the paint you have bought is not suited to the surface or conditions you are working with.
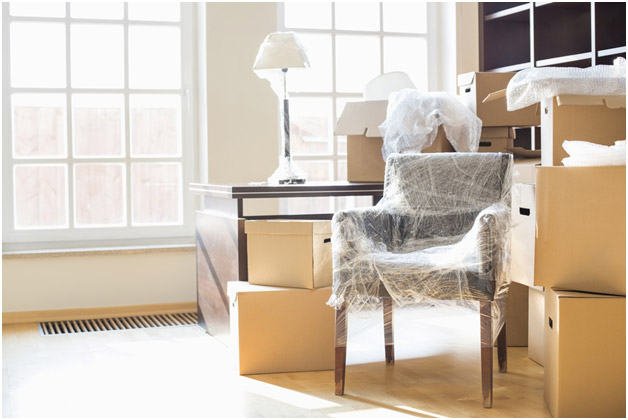
2. Deal with Your Furniture
Source: Shutterstock — bikeriderlondon
Painting is a messy process, and protecting what is already in the room needs to be addressed before a single drop of paint is mixed. There are two approaches depending on what you are working with.
For furniture that can be moved — dining chairs, side tables, lamps, loose shelving — move it out of the room entirely if you have the space. An adjacent bedroom or corridor works well as a temporary holding area, keeping the room clear and giving you unobstructed access to every wall.
For larger pieces that cannot fit through the doorway — a sofa, a large cabinet, a television unit — move them to the centre of the room, away from all the walls, and cover them fully with plastic sheeting secured with tape. The centre of the room is the safest position during ceiling and wall work, and the sheeting will catch any drips or roller spray that drifts over. Do not use old bed sheets for this — paint soaks straight through fabric and you will end up with a stained sofa regardless.
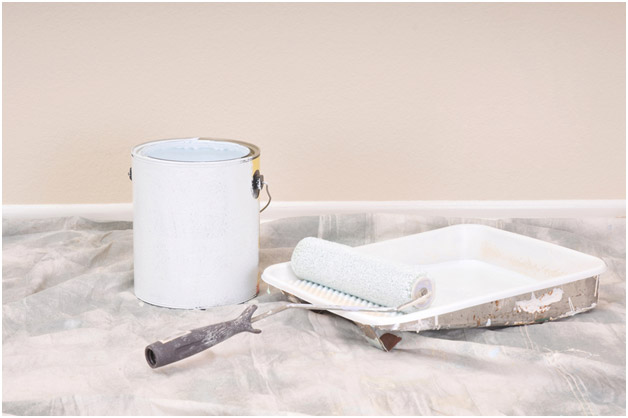
3. Protect Your Floor
Source: Shutterstock — Steve Cukrov
This step is easy to overlook when your attention is focused on the walls, but paint will drip — particularly during cutting in at the ceiling and when working with a roller. Whatever is on your floor when that happens will bear the evidence permanently.
Cover the entire floor area with a canvas or fabric drop cloth before you begin. Drop cloths are heavier than plastic sheeting or newspaper and will not slide underfoot while you are moving around, which matters both for the protection of your floor and for your own safety on a ladder. Plastic sheeting and newspaper are a last resort — they shift constantly and offer far less protection against paint soaking through.
4. Tape Off Fixtures and Edges
Unless you have the steadiest hand in Singapore, masking tape is what stands between a clean, professional-looking paint edge and a wall that has bled into the skirting board, window frame or light switch.
Work methodically around the room, applying masking tape to all fixtures — window sills, door frames, skirting boards, light switches, power sockets and ceiling fan mountings. Press the tape down firmly at the edge closest to the surface being painted to prevent paint from bleeding underneath. This stage takes time and patience, but it is what makes the difference between a finish that looks deliberate and one that looks rushed. One important detail: make sure no tape is applied onto the wall surface itself, or you will pull off the old paint when you remove it, leaving an uneven edge.
5. Protect Yourself

Source: Shutterstock — Marie Maerz
It is easy to forget yourself in the process of protecting everything else. Paint on your skin and hair is an inconvenience; paint on clothes you care about is worse. Before you start, change into old clothing you would not mind discarding afterwards — an old T-shirt and long trousers are ideal. Wear closed shoes to protect your feet from dropped tins and paint spills.
For overhead work — painting ceilings or high wall sections from a ladder — consider wearing a cap or tying your hair back to keep it out of the way. If you are working with conventional paint rather than a low-VOC formulation, ensure the room is well ventilated: open windows and run a fan to keep fresh air moving through the space throughout the session.
6. Plan Your Work Area Before You Start

Source: Shutterstock — Roobcio
The final step before picking up a brush is deciding where your paint station will be. Carrying an open tin of paint from corner to corner as you move around the room is one of the most reliable ways to end up with paint on the floor in places you have not protected. Instead, set up a central base — somewhere you can return to easily from any part of the room — and keep all your materials there: the tin, the tray, your brushes and rollers, and any rags or cloths.
Lay a thick layer of newspaper or a small drop cloth directly under this area as an extra precaution. From here, you can load your brush or roller and move to where you need to be, rather than dragging everything with you. This small organisational step keeps the mess contained and the job moving efficiently.
Frequently Asked Questions
How long does it take to prepare a room for painting?
For an average-sized Singapore living room or bedroom, thorough preparation — moving furniture, taping fixtures, laying drop cloths — typically takes two to three hours. It is worth doing the day before you plan to paint so you can start the actual painting without delay.
Do I need to clean the walls before painting?
Yes. Dust, grease and surface contaminants all prevent paint from adhering evenly. Wipe walls down with a damp cloth and allow them to dry completely before priming or painting. Pay particular attention to kitchen walls, where grease can build up even on surfaces that look clean.
Should I use a primer before repainting interior walls?
For most repaints, a primer improves adhesion and produces a more even finish — particularly if you are making a significant colour change, painting over a repaired or patched surface, or working on bare plaster. If you are applying a fresh coat of the same colour over a surface in good condition, a primer may not be strictly necessary, but it is rarely wasted effort.
What is the best way to protect floors when painting?
A canvas or fabric drop cloth is the most effective option. Unlike plastic sheeting or newspaper, it stays in place underfoot, does not slip, and is thick enough to absorb paint drips without soaking through. Secure the edges with masking tape if needed to keep it from shifting.
How do I prevent paint from getting on fixtures and skirting boards?
Apply painter’s masking tape carefully along all edges before you begin — skirting boards, door and window frames, light switches, power sockets and any other fixture adjacent to the surface being painted. Press the tape down firmly at the painted edge and remove it while the paint is still slightly tacky for the cleanest result.
What should I wear when painting a room?
Old clothing you are comfortable discarding afterwards — a loose T-shirt and long trousers work well. Wear closed shoes for protection. For ceiling work, a cap or hair tie keeps paint out of your hair. If ventilation is limited, a basic dust mask reduces exposure to paint fumes.
Preparation Is the Paintwork
A great paint job is built on preparation, not just technique. The time you invest in protecting your furniture, floors and fixtures, taping your edges and organising your workspace is directly reflected in the quality of the finished result — and in how much cleaning up you have to do at the end.
Once these six steps are done, you are ready to paint. For guidance on choosing the right interior paint for your home, visit nipponpaint.com.sg or speak to a consultant at your nearest Nippon Paint Colour Centre.
5 Colour Schemes That Spell "Home Sweet Home"