
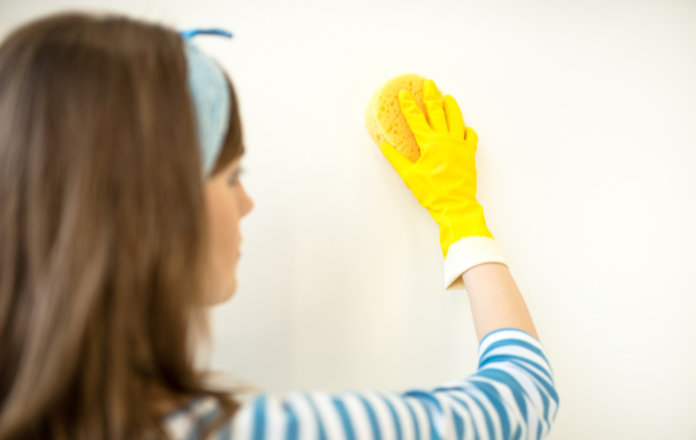
Walls are easy to overlook when it comes to cleaning. Unlike floors, their vertical surface gives the impression that dust simply doesn’t settle, but the reality is quite different. Over time, walls accumulate dust, grease, smoke residue, and even insect droppings, all of which can trigger allergic reactions and worsen respiratory conditions if left unaddressed.
Whether you’re preparing for a fresh coat of paint, maintaining existing walls, or dealing with mould and children’s artwork, this guide walks you through everything you need to know about cleaning your walls without causing damage.
Key Takeaways:
|
What You Need Before Cleaning Walls
Before cleaning your walls, it’s important to prepare the right cleaning tools and solutions to avoid damaging the paint or spreading dirt and mould further. Having the proper supplies also makes the cleaning process safer, easier, and more effective.
Here are some basic items you may need before cleaning your walls:
- Microfibre cloths or soft sponges
- Mild soap or gentle wall cleaner
- Bucket of warm water
- Dry towels or cloths for drying
- Step ladder for hard-to-reach areas
- Multi-purpose cleaner like Selleys Liquid Sugar Soap
- Protective gloves and mask (especially when cleaning mould)
- White vinegar or anti-mould cleaner for mould removal
- Vacuum cleaner or duster to remove loose dust first
- For cleaning stubborn stains: baking soda, rubbing alcohol and melamine sponge
How to Clean and Prep Walls Before Painting
A clean wall surface is the most important foundation for a lasting paint job. High-quality paints bond well to almost any surface, but adhesion is significantly enhanced when the wall is clean, dry, and free from contaminants. Skipping this step is one of the most common causes of premature paint failure.
Step 1: Wipe the Walls with a Suitable Solution
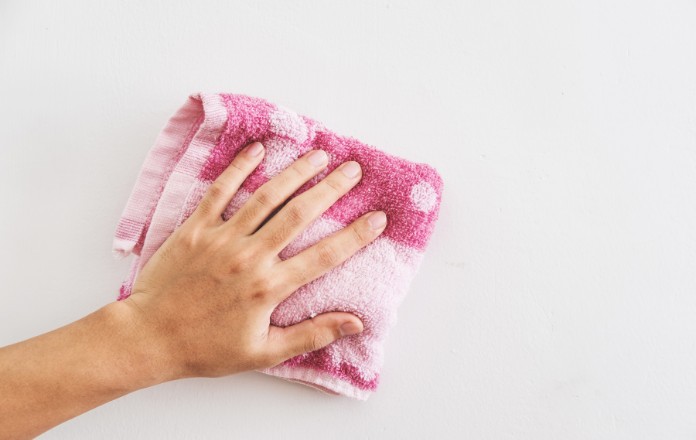
For most interior walls, a sponge dampened with warm water is sufficient. For areas exposed to grease, particularly kitchen walls, use a grease-cutting detergent like Selleys Liquid Sugar Soap diluted in warm water for more effective cleaning.
Step 2: Wipe down with clean water
After cleaning, dip a fresh sponge or microfibre cloth in clean water, wring until damp, and do a second wipe-down to remove any soap residue. Residue left on the wall can also interfere with paint adhesion.
Step 3: Allow walls to dry fully before painting
Give the walls adequate time to dry completely before starting to paint. Painting over damp walls is a common cause of blistering and bubbling, especially in Singapore’s humid climate, where drying times can be longer than expected.
Tip: Always apply a coat of sealer before your paint colours. A primer or sealer improves the adhesion of subsequent paint layers, conceals surface imperfections, and prevents moisture from permeating through the wall. Nippon Paint’s Odour-less Ultra 5102 Sealer is an excellent choice for interior masonry surfaces, offering strong alkali and moisture resistance.
How to Clean Painted Walls Without Damaging Paint
Walls should be cleaned regularly, not just before painting. Uncleaned walls can harbour allergens that worsen asthma and allergies, and homeowners are generally advised to clean their walls every 1 to 4 weeks depending on the room and usage.
Step 1: Identify the Paint Type and Finish
Before cleaning your walls, first identify whether the paint is water-based or oil-based, as well as the paint finish used on the surface.
- Water-based paints are commonly used in modern homes, dry faster, and are generally easier to clean gently with mild soap and water. However, matte or water-based paints can be more sensitive to scrubbing.
- Oil-based paints are more durable and moisture-resistant, making them easier to wipe clean. They are commonly found in kitchens, trims, doors, and high-traffic areas.
| Type of Paint | Suitable Materials | Suitable Cleaning Frequency |
| Oil-based | Household detergents (diluted)
White vinegar Water |
Once every 1 to 2 weeks |
| Water-based | Multi-purpose cleaner
Water |
Once a month |
The paint finish also affects how easily the wall can be cleaned:
- Gloss and semi-gloss paints are generally more durable and easier to clean
- Satin and eggshell finishes can handle gentle cleaning but still require care
- Matte paints are more delicate and may get damaged if scrubbed too aggressively
| Type of Paint Finish | Suitable Materials | Suitable Cleaning Frequency |
| Matte | Water | Once a month |
| Eggshell or satin | Dishwashing liquid
Water |
Once every 1 to 2 weeks |
| Semi-gloss or gloss | Household detergents (diluted)
Water |
Once every 1 to 2 weeks |
Step 2: Dust The Walls
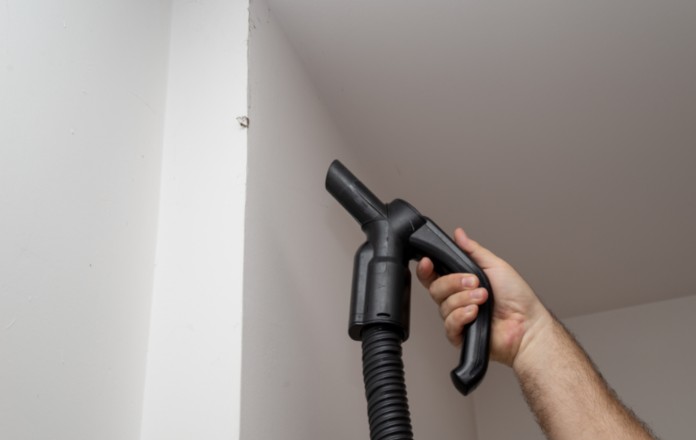
Begin by removing surface dust with a handheld vacuum or a dusting brush fitted with an extendable wand. Start from the top of the wall and work downward. Use a sturdy ladder for high spots and never stretch or overreach.
Step 3: Test A Small Area First
Before cleaning the entire wall, test your cleaning solution on a small hidden section to ensure the paint does not fade, peel, or become damaged.
Step 4: Prepare A Gentle Cleaning Solution
Mix a cleaning solution appropriate for your paint type. Selleys Liquid Sugar Soap is a reliable multi-purpose option that cuts through grime effectively without being too harsh for painted surfaces. Always dilute concentrated cleaners according to the product instructions before use.
Step 5: Wipe Gently With a Soft Sponge or Cloth
Dip a soft sponge or microfibre cloth into the cleaning solution and wring out excess water. Gently wipe the wall in circular motions without scrubbing too hard. Always wipe walls from top to bottom to prevent dirty water from dripping over already-cleaned areas.
Step 6: Tackle Stubborn Stains
For stubborn stains, such as scuff marks, crayons, or grease, try one of the following methods:
- Dip a damp sponge in baking soda and rub gently in a circular motion
- Spray Selleys RP7 onto the stain and wipe gently with a clean cloth
- Apply rubbing alcohol to a cloth and dab at the stain
- Use a melamine sponge (magic eraser) with light pressure
Always start with the gentlest cleaning method and apply minimal pressure when cleaning. Scrubbing too aggressively may strip the paint, leave shiny patches, or cause discolouration, especially on matte paint finishes.
| Tip:
If your walls are painted with Nippon Paint’s EasyWash & Clean, removing stains and marks is significantly easier thanks to its durable, washable finish that resists common household stains while maintaining long-lasting colour and a clean appearance. |
Step 7: Dry The Walls
After cleaning, wipe the wall again with a clean damp cloth to remove any soap residue. Then dry the surface using a soft towel or dry cloth to prevent water stains or moisture buildup.
How To Remove Mould From Walls
Mould is a common issue in Singapore’s humid climate, particularly in bathrooms, kitchens, and poorly ventilated rooms. It should be addressed promptly, both for aesthetic reasons and for the health of everyone in the household.
What Causes Mould To Grow On Walls?
Mould grows when there is excess moisture on or within the wall surface. Common causes include:
- High indoor humidity
- Poor ventilation
- Water leaks from pipes, roofs, or windows
- Condensation from air-conditioning or temperature changes
- Damp bathrooms, kitchens, or laundry areas
- Furniture placed too close to walls, trapping moisture
- Previous mould that was painted over instead of properly removed
Before cleaning mould, it is important to identify and fix the source of moisture. Otherwise, the mould is likely to return even after cleaning.
How to Clean Mould Off Walls
Here is a 4 step guide on how to clean mould off you walls:
Step 1: Protect Yourself Before Cleaning
Before cleaning mould, wear gloves, a mask, and protective eyewear if needed. Open windows and doors to improve ventilation, especially if you are using stronger cleaning solutions such as bleach.
Step 2: Apply Vinegar or Mould Cleaner
Spray white vinegar, an anti-mould solution, or a mould cleaner directly onto the affected area. For more stubborn mould, you can also prepare a bleach solution by mixing water and household bleach in a 4:1 ratio (4 parts water to 1 part bleach).
Dip a sponge into the solution and apply it to the mould-affected area. Allow the solution to sit for 3 to 5 minutes so it can break down the mould more effectively before cleaning.
Step 3: Scrub the Mould Carefully
Using a soft sponge, cloth, or brush, gently scrub the mould off the wall using light pressure. Avoid scrubbing too aggressively, especially on painted walls, as this may damage the paint finish or spread mould spores further.
Once cleaned, wipe the area with a clean damp cloth to remove any remaining residue.
Step 4: Dry the Area Completely
After cleaning, ensure the wall is fully dry using a clean cloth, fan, or dehumidifier. Moisture left behind can encourage mould to grow again.
It is also important to ensure all mould has been fully removed and the wall completely dried before repainting. Painting over mould will not eliminate the problem, the mould can continue growing beneath the new layer of paint and eventually resurface.
How to Prevent Mould on Walls
Prevention is always more effective than remediation. If your walls are currently mould-free, the following measures during your next paint job will help keep them that way.
1. Apply an Antifungal Solution Before Painting
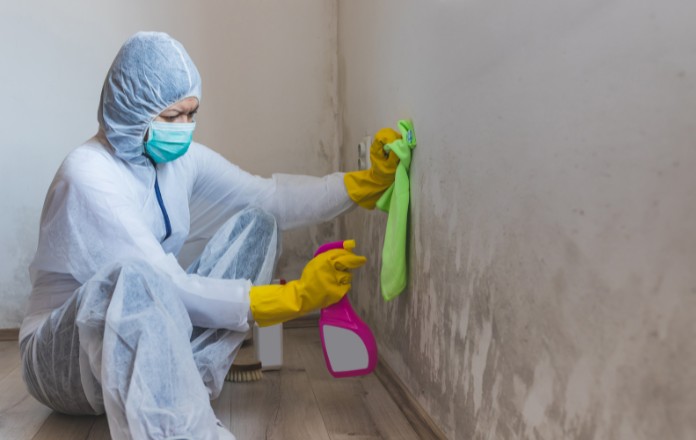
Before painting begins, apply an antifungal solution to the walls and allow it to sit for the duration specified on the product label.
This helps eliminate the spores that cause fungal and algae growth before they’re sealed under a new coat of paint. Ensure the surface is fully dry before proceeding.
2. Choose Paint With Mould-Resistant Properties
Using paint with anti-mould or mould-resistant properties can help reduce the chances of mould developing on wall surfaces.
Nippon Paint’s EasyWash & Clean, available in both Matt and Low Sheen finishes, features antifungal and mould-resistant properties alongside a durable, washable finish, making it an excellent choice for high-humidity spaces and everyday living.
For bathrooms in particular, consider Nippon Paint’s Odour-Less Ultra Durable. Designed for high-moisture spaces, it offers mould and fungus resistance while maintaining long-lasting colour, low odour, and a smooth low-sheen finish that is easy to keep looking fresh over time.
3. Improve Ventilation
Poor airflow can trap moisture indoors, especially in enclosed or humid rooms. Open windows regularly, switch on exhaust fans, and consider using a dehumidifier to reduce excess humidity and improve air circulation.
4. Fix Water Leaks Quickly
Leaks from pipes, ceilings, windows, or air-conditioning units can create damp conditions that allow mould to thrive. Address any signs of water damage or moisture issues as soon as possible to prevent mould from spreading.
5. Clean Walls Regularly
Regular wall cleaning helps remove dust, moisture, and surface buildup that may encourage mould growth. Pay extra attention to humid areas such as bathrooms, kitchens, and corners with limited airflow.
Keep Your Walls Clean and Mould-Free
Regular wall cleaning and proper mould prevention can help keep your home looking fresh while creating a healthier indoor environment. Using the right cleaning methods and addressing moisture issues early can also help protect your paint finish and reduce the chances of mould returning.
For longer-lasting protection, consider using mould-resistant and easy-to-clean paints such as Nippon Paint’s EasyWash & Clean and anti-mould paint solutions. If your walls are heavily affected by stains or recurring mould, professional painters can also help recommend suitable treatments and repainting solutions for your space.
FAQs About Cleaning Walls
How frequently should I clean my walls?
In general, walls should be lightly cleaned every few months to remove dust and surface dirt. Areas exposed to grease, moisture, or frequent contact, such as kitchens, bathrooms, and children’s rooms, may require more regular cleaning.
Do I need a professional to clean my walls?
Not always. For general dirt, minor marks, and small mould spots, most walls can be cleaned yourself using the right cleaning products and methods.
However, if you’re dealing with heavy staining, widespread mould, peeling paint, or recurring damp issues, it may be better to consult a professional to properly assess and treat the problem.
Can you simply paint over mould?
No, painting directly over mould is not recommended. Mould must first be completely removed and the wall fully dried before repainting. Otherwise, the mould can continue growing beneath the paint and eventually reappear on the surface.
How do I remove black marks or stains from white walls?
Black stains on white walls can usually be cleaned using a mild soap solution, multi-purpose cleaner, or baking soda paste. For tougher stains such as scuff marks or crayon drawings, a melamine sponge or rubbing alcohol may help remove the marks more effectively.
Can mould on walls affect your health?
Yes, prolonged exposure to mould may trigger allergies, respiratory irritation, headaches, or worsen asthma symptoms, especially for children, elderly individuals, or those with sensitive immune systems. It’s important to remove mould early and address the source of moisture to maintain a healthier indoor environment.
How to clean textured walls?
Textured surfaces like exposed brick or rough plaster are more labour-intensive to clean due to their uneven surface, but the process is the same as for flat walls, just more thorough.
- Remove dust with a vacuum or soft dusting brush
- Mix a suitable cleaning solution
- Wipe from top to bottom, working the solution into the textured surface
- Wipe again with a clean, damp cloth
Always do a spot test in a hidden area first to confirm that your cleaning agent is compatible with the surface texture.
How to keep walls clean longer?
Good habits between deep cleans make a significant difference:
- Avoid smoking indoors, and minimise burning candles and high-heat cooking near walls
- Spot clean immediately when you notice marks or stains — fresh stains are always easier to remove than dried ones
- Use a washable paint like Nippon Paint’s EasyWash & Clean in high-traffic areas to make ongoing maintenance effortless
Which type of paint finish is easiest to wash?
Gloss and semi-gloss paint finishes are typically the easiest to clean because they are more durable and moisture-resistant. Satin and eggshell finishes are also relatively washable, while matte finishes tend to be more delicate and prone to marks.
Is acrylic wall paint washable?
Yes, most acrylic wall paints are washable to some extent, especially higher-quality formulations designed for easy maintenance. Washable acrylic paints such as Nippon Paint’s EasyWash & Clean are specifically formulated to resist stains and allow easier cleaning without damaging the paint surface.
How to clean soot off walls?
Soot (caused by kitchen fires, poorly ventilated fireplaces, or burning candles) requires careful handling as it can smear easily if wiped incorrectly.
Follow these steps:
- Put on goggles, a mask, and gloves
- Move or cover furniture with protective sheets
- Open windows to ventilate the room
- Vacuum the walls with a dusting brush to remove loose soot
- Dry clean: Use a soot-specific sponge to go over the stained areas
- Wet clean: Dip a clean sponge in a grease-cutting dishwashing liquid solution and wipe the surface
- Dry the wall with a clean cloth
- Vacuum the floor to collect any soot that has fallen
17 Popular Room Ideas in 2026 that Your Baby Boy will Love