Jeremy Thomas / Unsplash
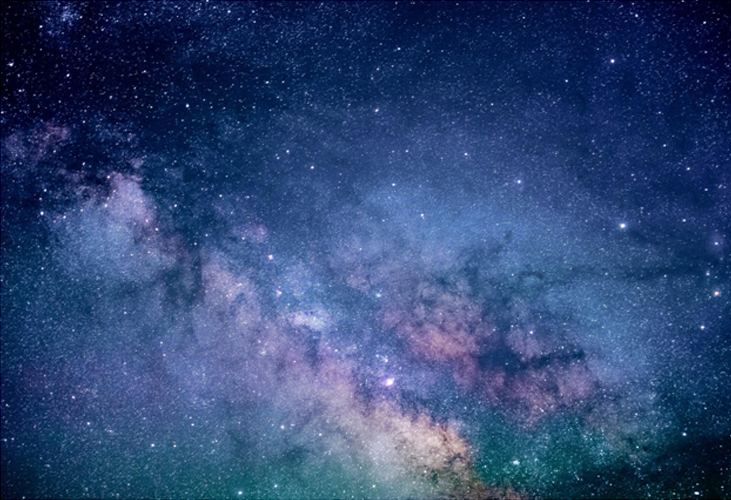
Men have long dreamt of the vast galaxies that lie beyond our atmosphere. Galactic ceiling murals are usually found in high-end themed hotels or museums, but this up-and-coming home decor trend brings the stars into your home. With some paint, prep work and a long weekend to spare, you can recreate the galactic splendor right in your room. Here are 6 important steps to painting your very own galactic ceiling:
1. Phosphorescent Paint
For a ceiling mural that only shows up at dusk, you will want to use phosphorescent paint (also known as glow in the dark paint). That way, the general mood of your room will not be immediately dampened by the black and indigo paints on the ceiling. There is also no need to worry about picking colors that will match the galactic ceiling for the rest of the room. Simply switch off the lights in the room to reveal the galaxy mural and turn it back on to hide it.
2. Prep
This project is best undertaken over one or two days. Find an upcoming long weekend and begin gathering the materials needed.
Below is a list of a few of the items that you will need:
- Phosphorescent paint
- Paint roller and brushes
- Toothbrush
- Sponges
- Gloves
- Pencil
- Painter’s tape
- Plastic drop cloth
- Constellation photos from NASA (Optional)
- Star stencils (Optional)
- Wall sealer
Before you embark on your project, remember to cover up all the furniture in the room with old cloth or plastic. Lay the floor with newspaper or cloth, because there will be paint drips and spillage. You should wipe the ceiling with a dust cloth to make sure there are no dust or cobwebs getting in your way.
3. Backdrop

NASA / Unsplash
If you can get your hands on different coloured glow-in-the-dark paints, start with painting a backdrop of the galaxies and large planets. You can find variations of space photos from NASA. Print them out and trace out the general shape with a pencil according to the reference photos. You could just as easily paint free-hand, making it up as you go – it’s your mural after all.
4. Constellations and Nebulas

Eddie Yip / Flickr
If you want to recreate an accurate star map, print out a copy for reference and divide it into sections, according to your ceiling. Plot the constellations onto your ceiling by painting thin lines between the stars using a ruler. After the lines have dried, paint in the large stars using a round brush.
For an ethereal-looking nebula, mix different colored phosphorescent paint and brush a little bit of it onto the wall. Use your gloved finger to rub the mixed paint to create the look of gaseous star clouds.

Another fun detail to add would be moon phases. Use a moon phase stencil and fill it in using paint and sponge. Lightly dab around the moon to give it an ethereal glow.
5. Stars

NASA / Unsplash
When you’re satisfied with the bigger pieces and details, you can finish off the galactic ceiling mural by filling it up with stars. Small stars are created by flicking paint onto the surface, using a toothbrush or dry paintbrush. While holding the brush near the ceiling, rub your finger against the bristles to create small dots of paint.
6. Seal it all in

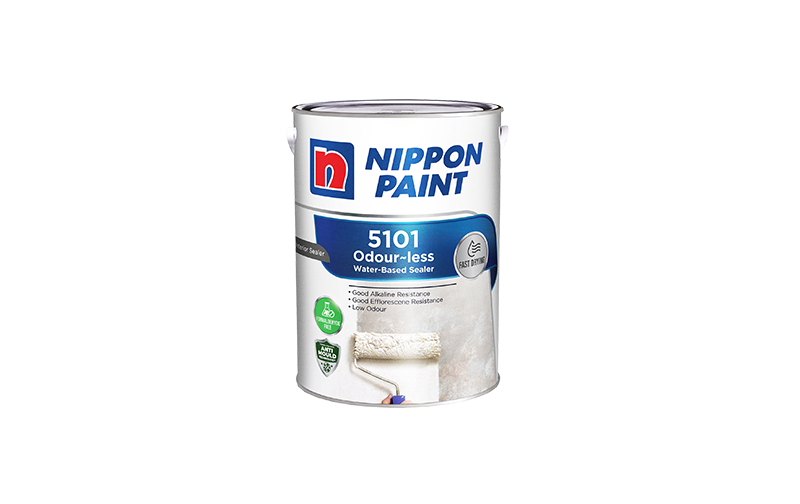
After all the neck-breaking effort to turn your ceiling into the galaxy, you wouldn’t want all that work to fade after a few months. Before you apply the topcoat, remember to use Nippon Paint 5101 Odour-less Wall Sealer helps to protect against fungus, algae and moisture that often lurk in ceilings.
Practice some of the strokes and techniques with acrylic paint and paper until you’re familiar with them and remember to divide your ceiling into sections – that will make it less overwhelming. While it might seem daunting to attempt a mural (much less a ceiling mural) on your own, it is well worth it when you get to admire the starry sky from the comfort of your bed every night. What better way to end the day?
5 Tips for Choosing a Bedroom Paint Colour That Suits Your Personality
